Drawing an apple is easy when you follow simple steps. In this guide, you will learn how to draw an apple with a leaf, add details, and color it to look real and fresh.
let’s learn to draw apple
Step 1: Start with a Circle Shape

Begin your apple drawing by making a neat round shape. This round shape will form the base of the apple. It doesn’t need to be a perfect circle, but try to keep it even and closed. Use a pencil so you can fix the shape if needed. Keep it big enough to add the leaf and stem later. This is the main outline to help you draw an apple properly.
Step 2: Shape the Top Curve
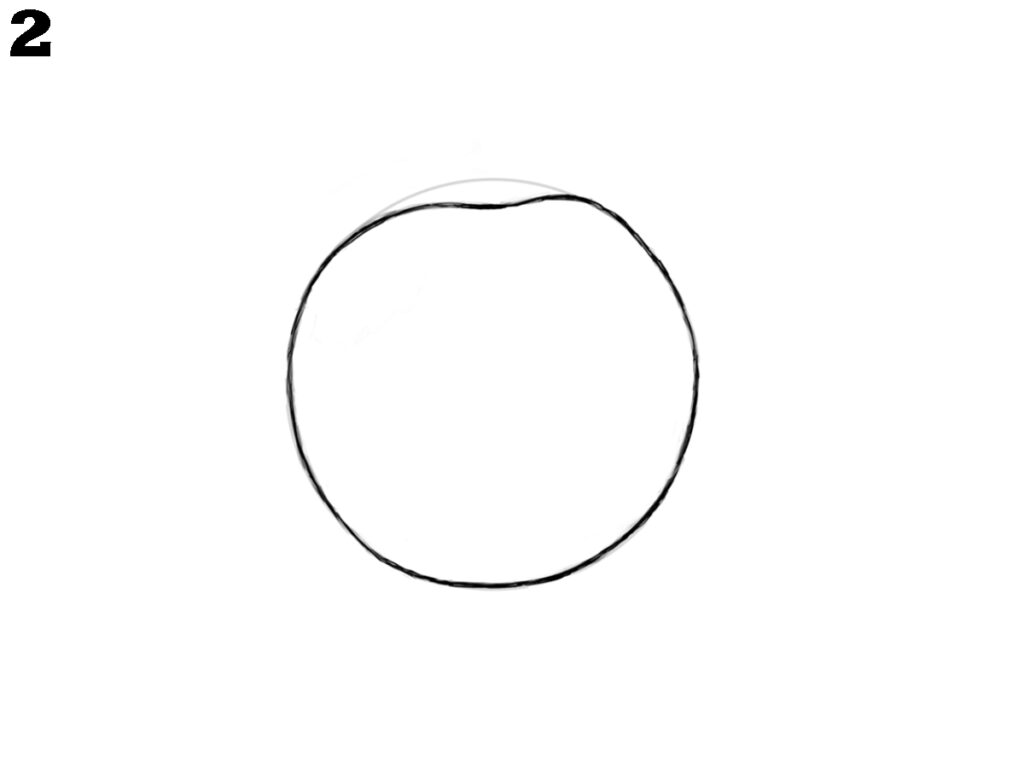
Next, make a small dip at the top of the circle. This helps the apple look more natural. Carefully erase a bit of the circle at the top and draw a curved line inward to show where the stem will go. This curve is important because real apples are not flat at the top. Keep your lines smooth so the apple looks soft and round.
Step 3: Draw the Leaf and Stem
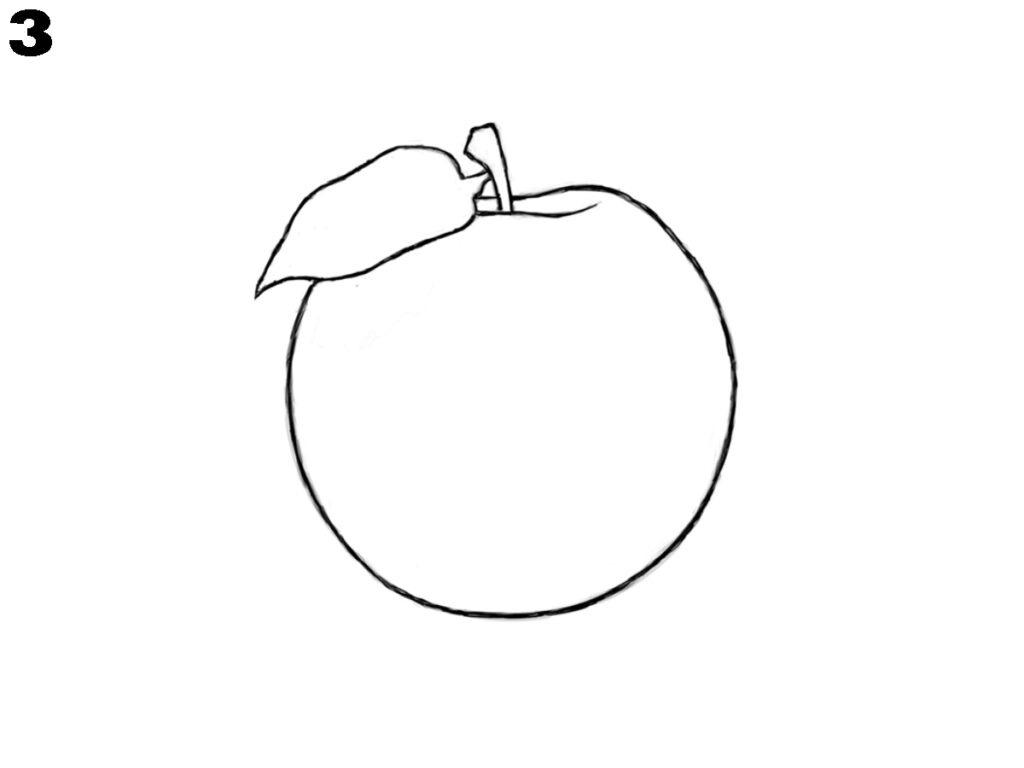
Now, draw a small stem coming out of the dip at the top of the apple. Then, add a simple leaf attached to the stem. Use light lines and follow the direction of the apple’s shape. The stem should be short, and the leaf can be curved a little to look real. This part makes your apple drawing easy to understand and helps it look like a real fruit.
Step 4: Detail the Leaf Shape
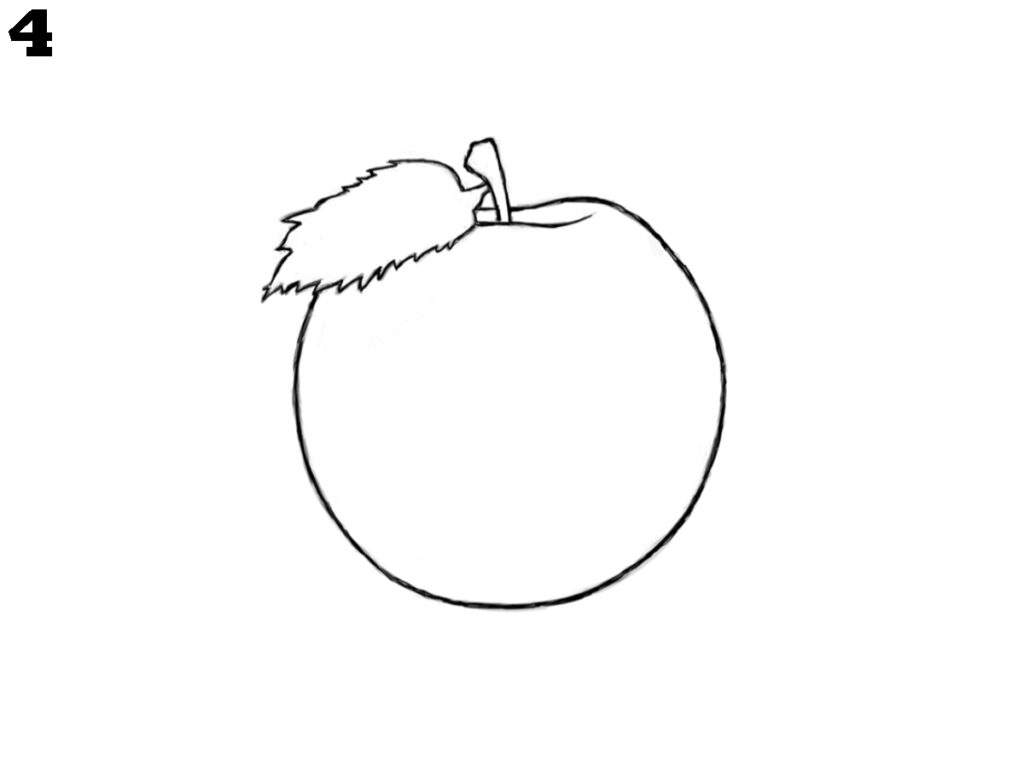
Add lines to the leaf to make it look more detailed. Draw a middle line first, then add small lines on both sides. These lines show the veins on a real leaf. Also, sharpen the edges of the leaf by adding a small zigzag pattern. This step is important for learning how to draw an apple with clear details that stand out nicely.
Step 5: Finish the Apple Outline
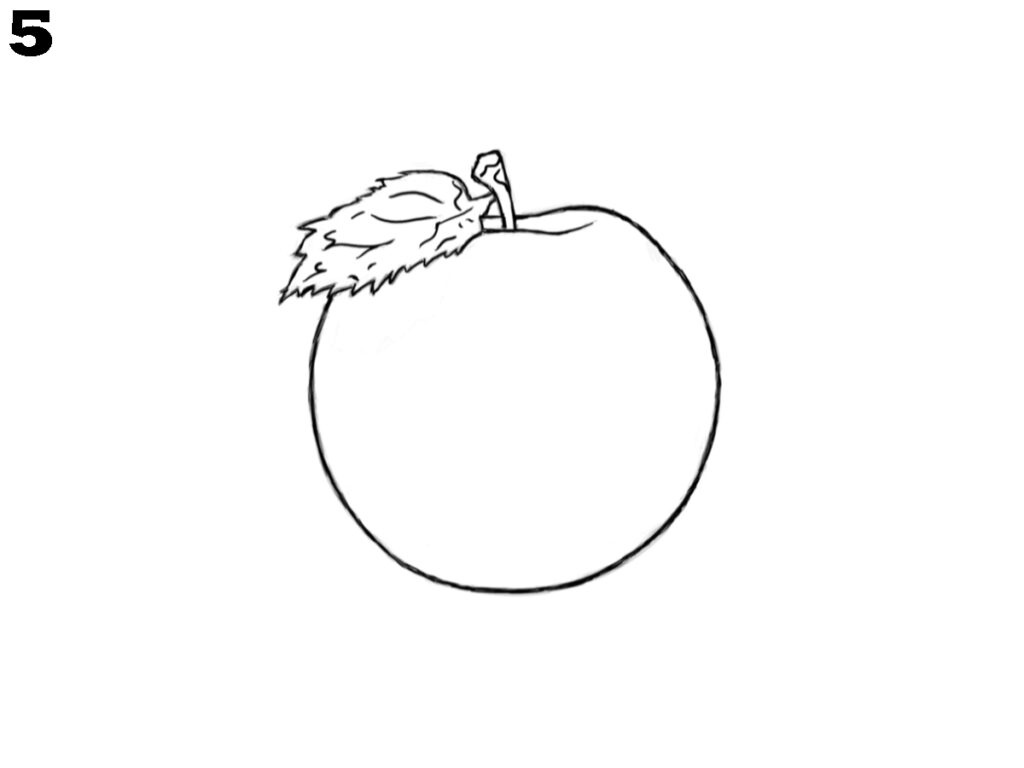
Check your drawing and add final lines to clean up the shape. Make sure the leaf, stem, and apple look connected. Add more small details on the stem if you want. This step helps the full shape of the apple come together. It’s now ready for shading or coloring. Drawing an apple becomes simple when you follow the right steps slowly and carefully.
Step 6: Add Pencil Shading
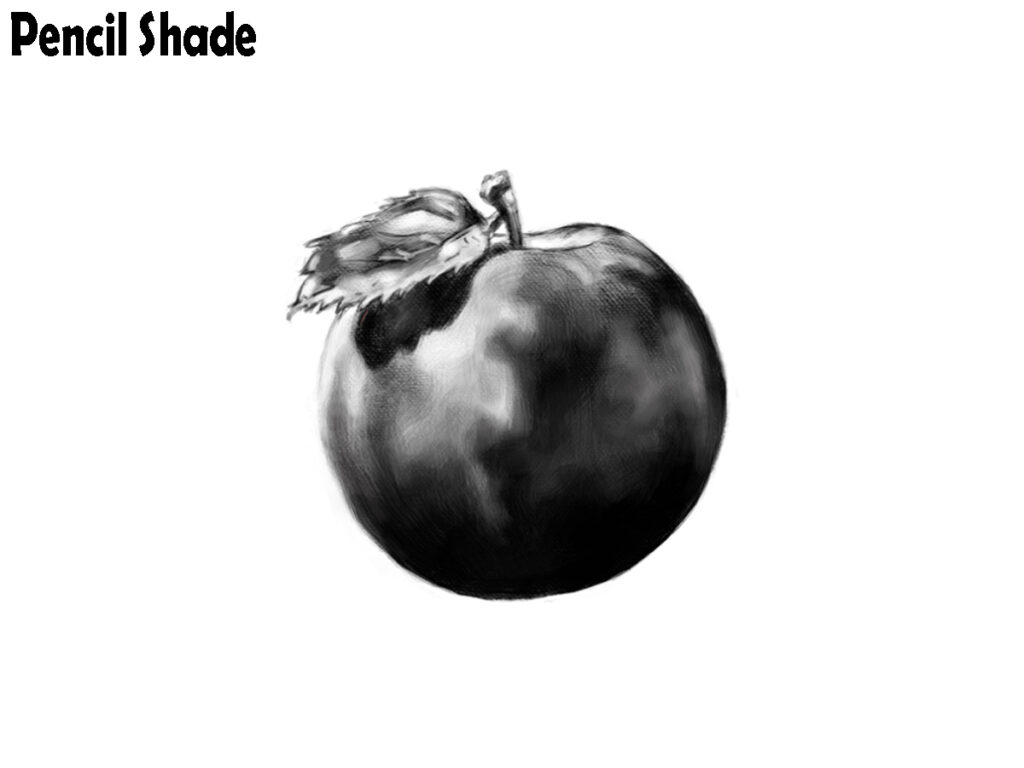
Start shading the apple with a pencil. Use soft strokes for lighter areas and dark shading where the apple curves. Shade under the leaf and around the edges to give the apple a round look. This makes it look 3D. Don’t press too hard; use your pencil gently and blend if needed. Pencil shading is a great way to give your apple drawing life and depth.
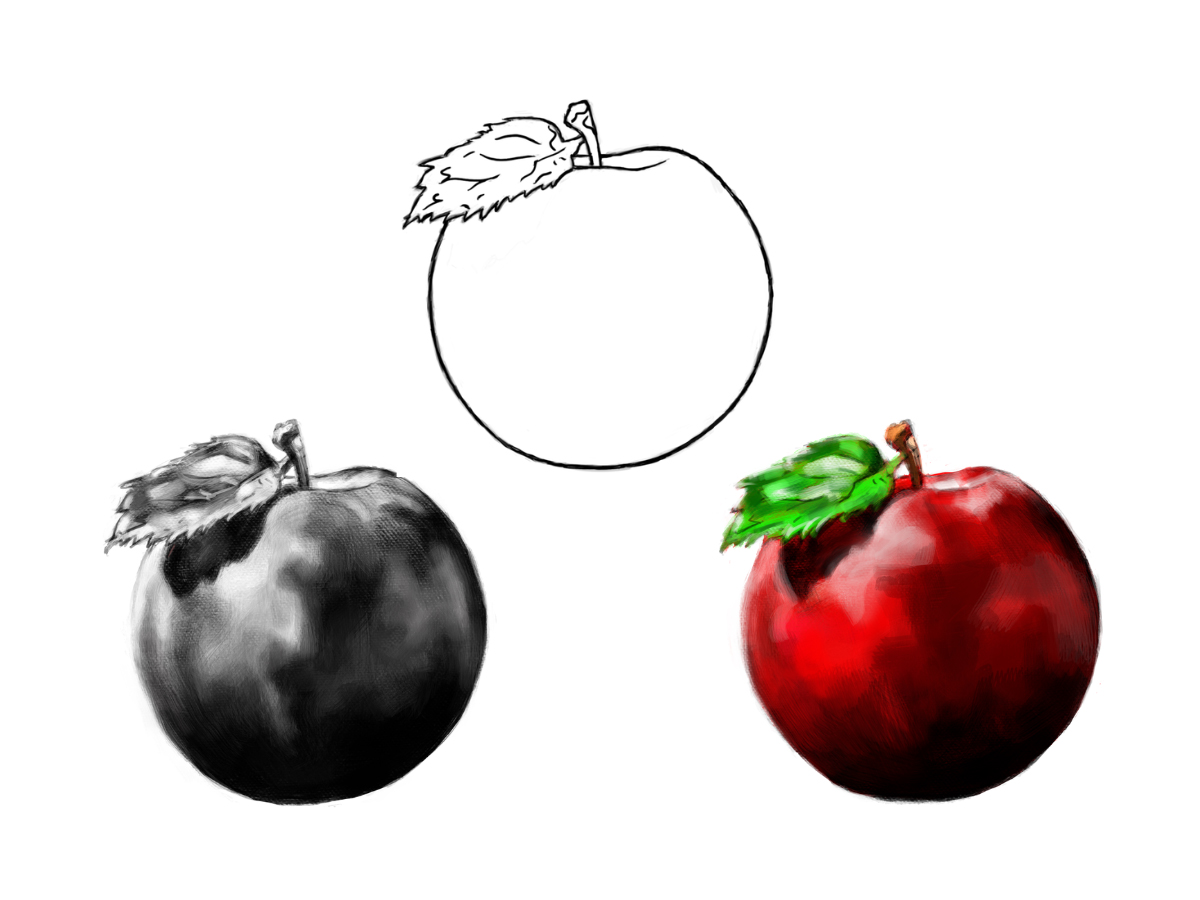
Step 7: Color Your Apple
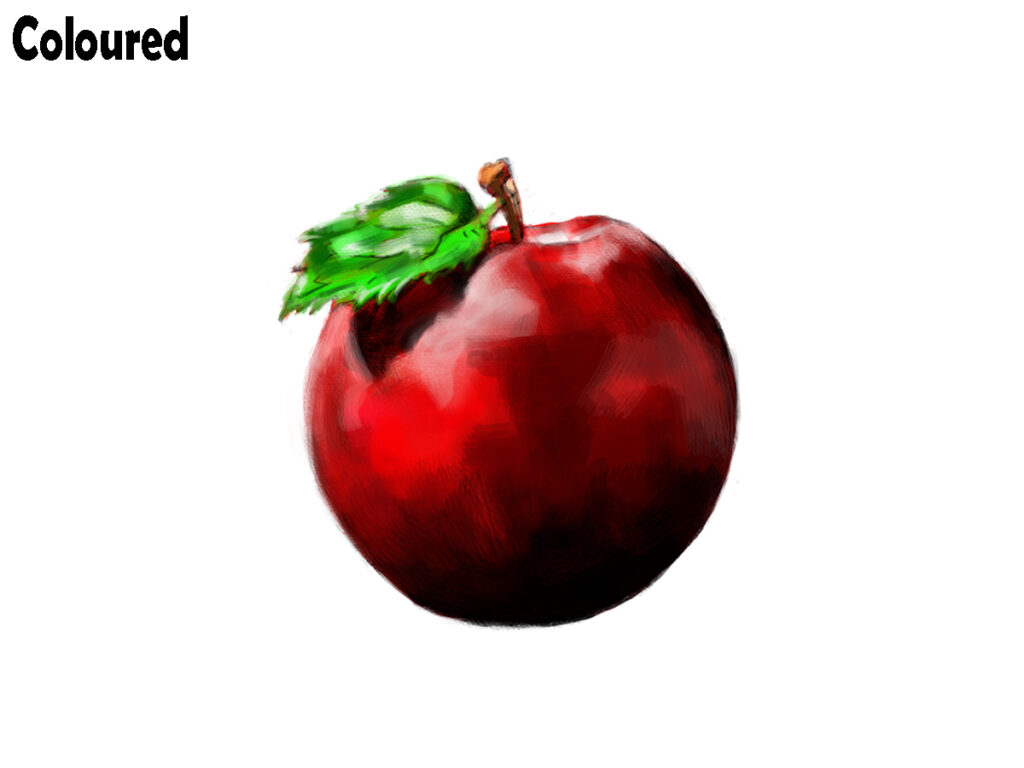
Now, color your apple with red for the fruit, green for the leaf, and brown for the stem. Use dark red for the bottom and sides, and leave the center a little light to show shine. Color the leaf with light and dark green to make it look fresh. This step brings your drawing to life and shows how to draw an apple with color in a simple way.
Conclusion
Now you know how to draw an apple step by step. With a clear outline, neat details, shading, and color, your apple drawing will look real. Keep practising to make each drawing better and more natural.