Drawing a cookie is simple if you follow each step slowly. In this easy guide, you will learn how to draw a cookie using basic shapes and lines. With just a few steps, you’ll be able to create a cookie that looks almost real. Let’s begin your cookie drawing journey.
Let’s Draw easy cookie
Step 1 – Draw a Circle

Start by drawing a large, neat circle in the middle of your page. This will be the base shape of your cookie. Make sure the circle is big enough to add details later. You can use a round object like a cup to trace it if you want the circle to look even.
Step 2 – Add Uneven Edge (First Half)

On one side of the circle, draw a slightly wavy and uneven line. This helps make the cookie look natural instead of perfectly round. Keep the curves soft and small so the shape still follows the circle’s outline. Leave the rest of the circle untouched for now.
Step 3 – Complete Uneven Edge

Now, finish the wavy outline on the other side of the circle. Make sure the bumps and curves match the style of the first side, so the cookie’s edge looks consistent. Once done, your cookie will have a natural, slightly irregular border instead of a smooth one.
Step 4 – Draw Large Chocolate Chips

Inside the cookie, add several medium to large oval shapes for chocolate chips. Spread them out evenly so they don’t all sit in one area. Keep their sizes and angles a little different to make them look more realistic. Avoid placing too many too close together.
Step 5 – Add Smaller Chips and Details
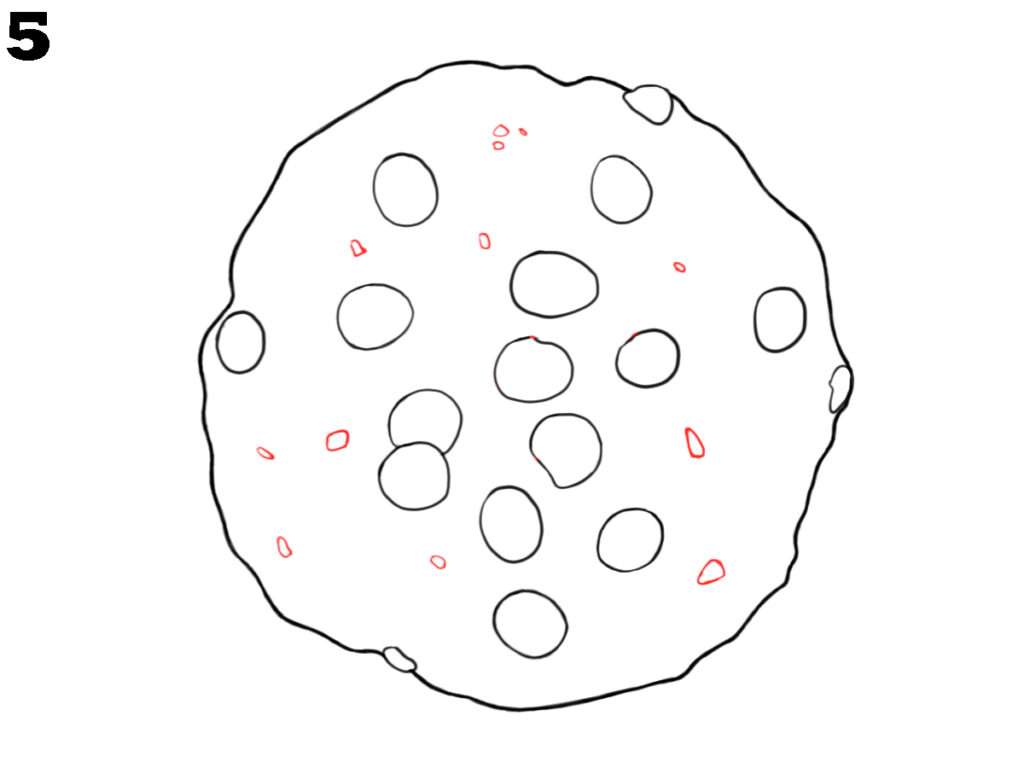
Draw a few smaller ovals or irregular shapes between the bigger chips. These smaller pieces make the cookie look fuller and more interesting. You can add tiny curved lines inside some chips to show texture. Remember not to overcrowd the cookie, so it stays clear and simple.
Step 6 – Add Base Colors
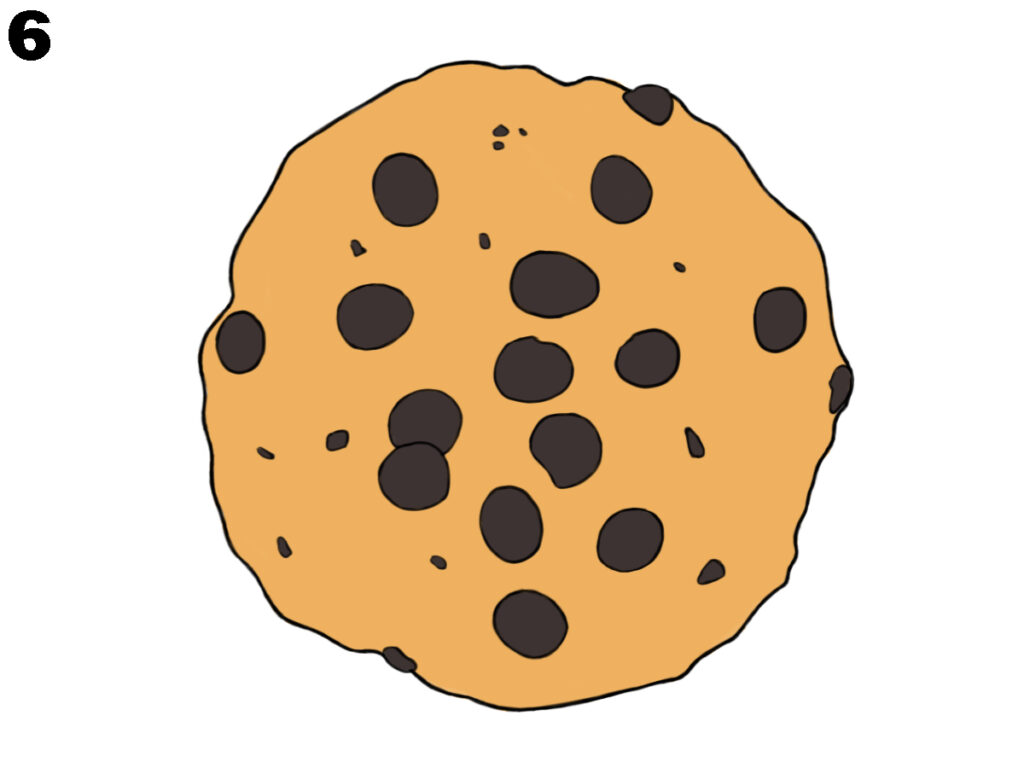
Fill the cookie’s main area with a light brown or golden color. Then color the chocolate chips with a dark brown or almost black shade. Make sure the chips are filled in neatly, and the base color doesn’t mix into them. This step will make the cookie look warm and baked.
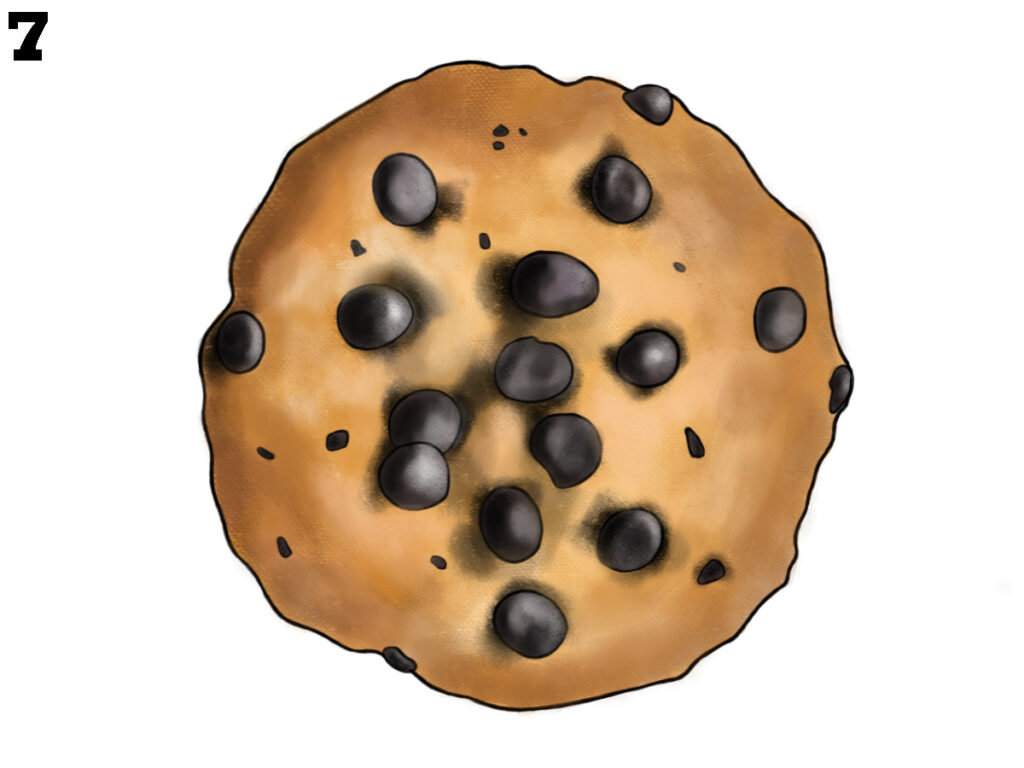
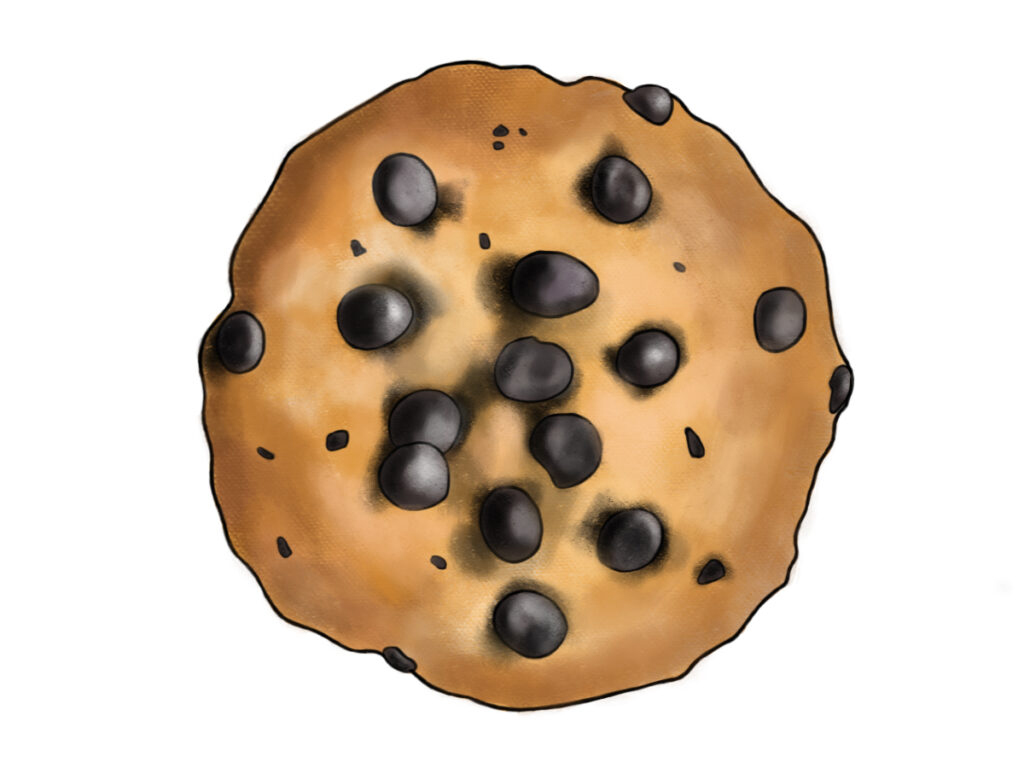
Step 7 – Add Shading and Highlights
To make the cookie look more realistic, add gentle shading around the edges and near some chocolate chips. Use a slightly darker brown for shadows and a light cream or yellow for highlights. Blend the colors softly so the cookie looks three-dimensional and fresh from the oven
Conclusion
Now you know how to draw a cookie in seven simple steps. You started with a circle, added a wavy edge, and finished with chocolate chips and color. Keep practicing these steps to get better each time. Drawing is about learning step by step and improving your skills with each try.