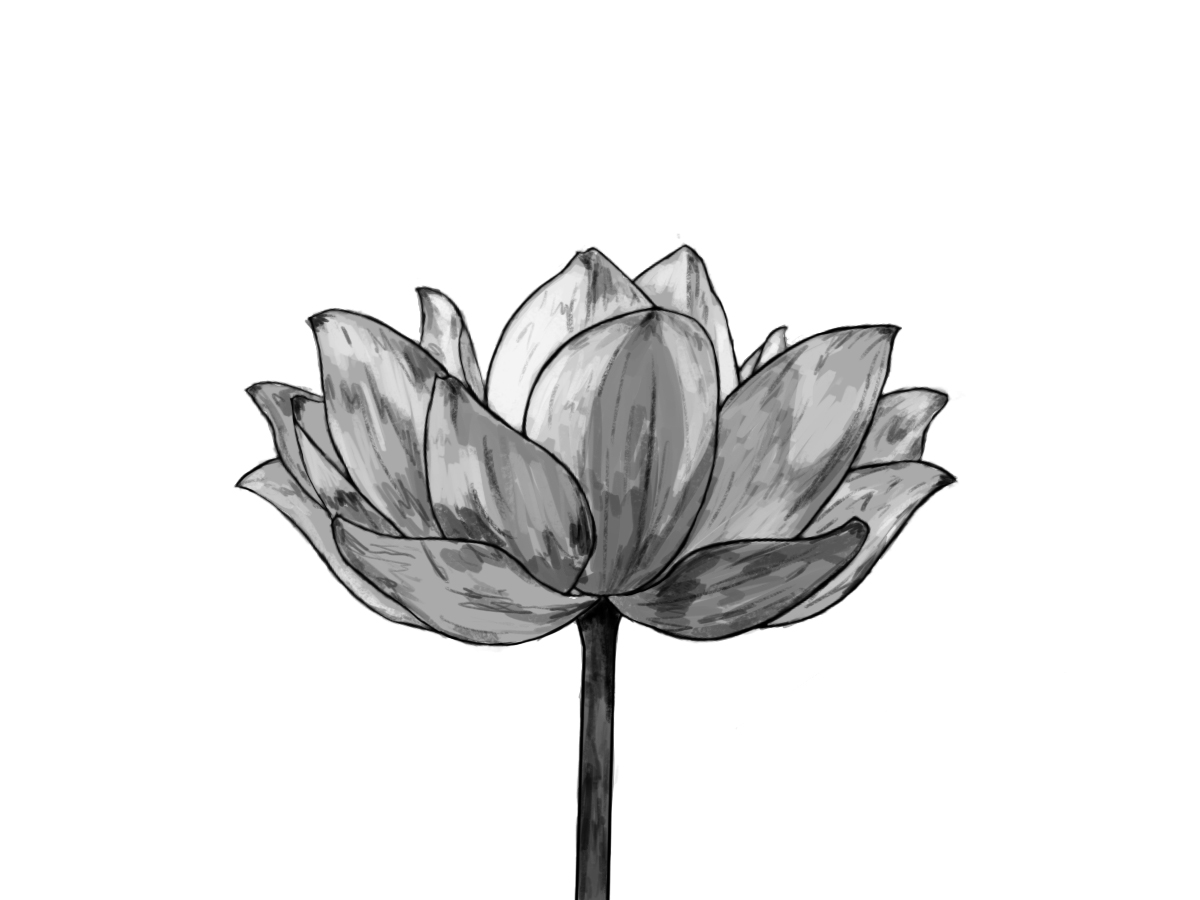
Learning how to draw a lotus can be simple when you follow clear steps. In this guide, we will start with a single petal and slowly add more layers. By the end, you will have a neat lotus drawing with balanced petals.
Draw stunning lotus easily
Step 1 – Draw the First Petal
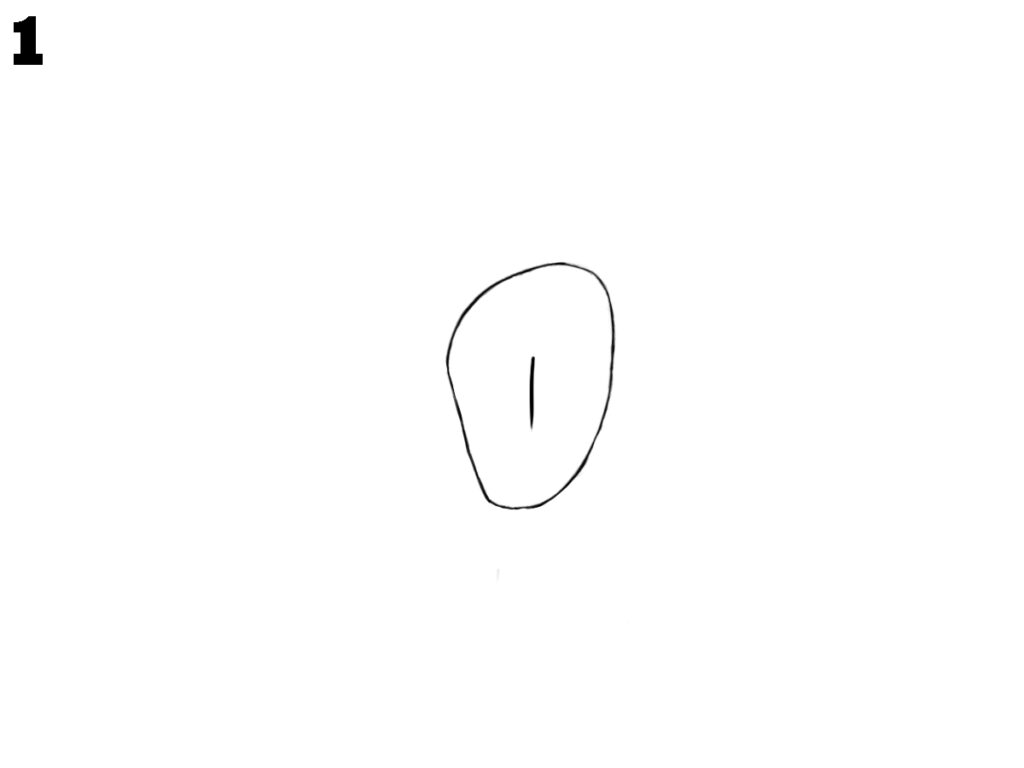
Begin by drawing a single petal in the center. This petal is shaped like an oval but slightly pointed at the top. Keep the bottom rounded and narrow. This will be the middle petal of your lotus flower and the starting point for the rest.
Step 2 – Add the Left Petal
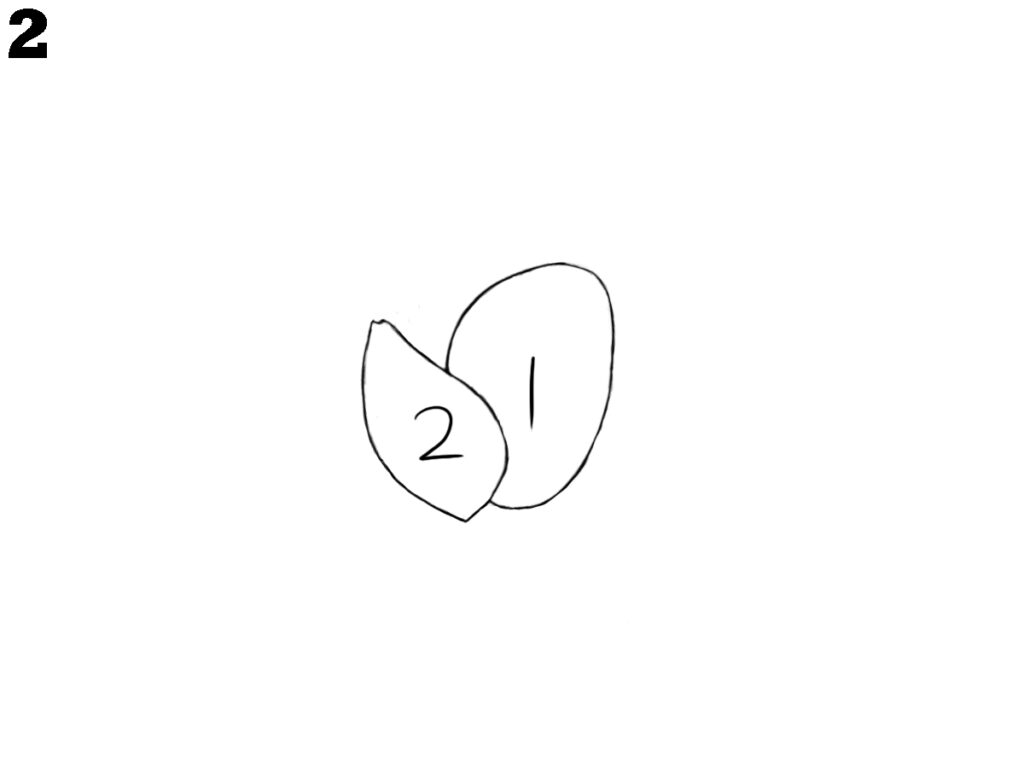
Now, draw a second petal on the left side of the first one. This petal should slightly overlap the middle petal, with its top part pointing outward. Make sure both petals look similar in size so your lotus flower stays balanced and neat.
Step 3 – Add the Right Petal
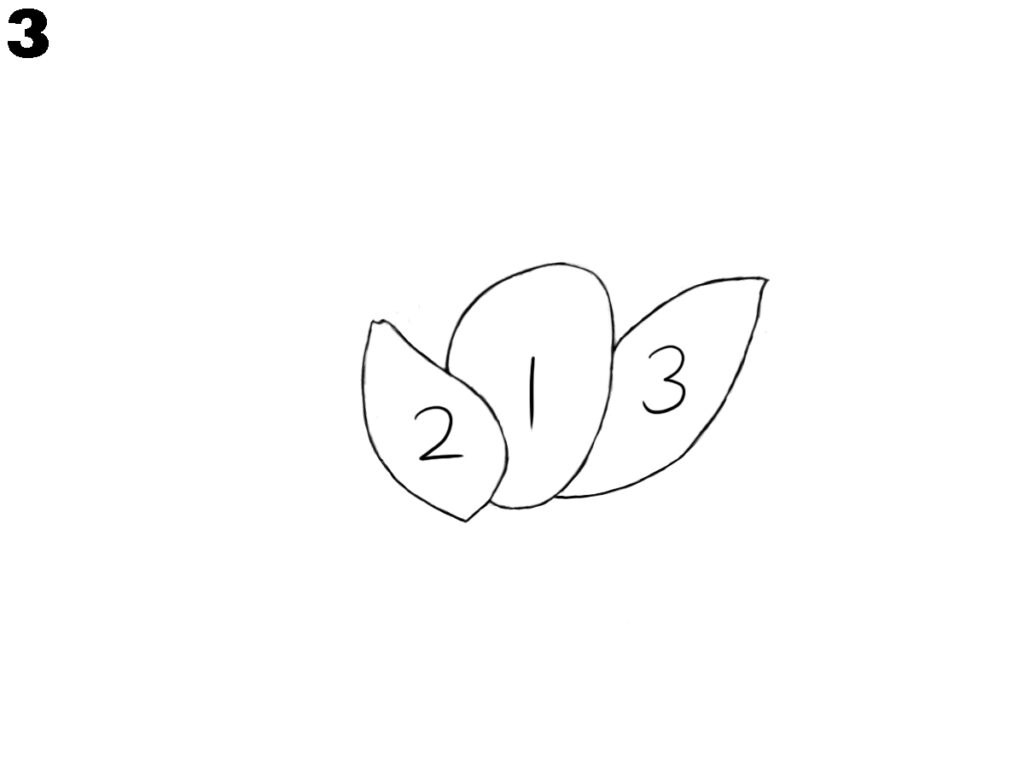
Next, draw the third petal on the right side of the middle petal. This petal should mirror the left one you made earlier. Keep the top part slightly pointed and the bottom rounded. Now, you have three main petals forming the base of your lotus.
Step 4 – Draw the Bottom Petals
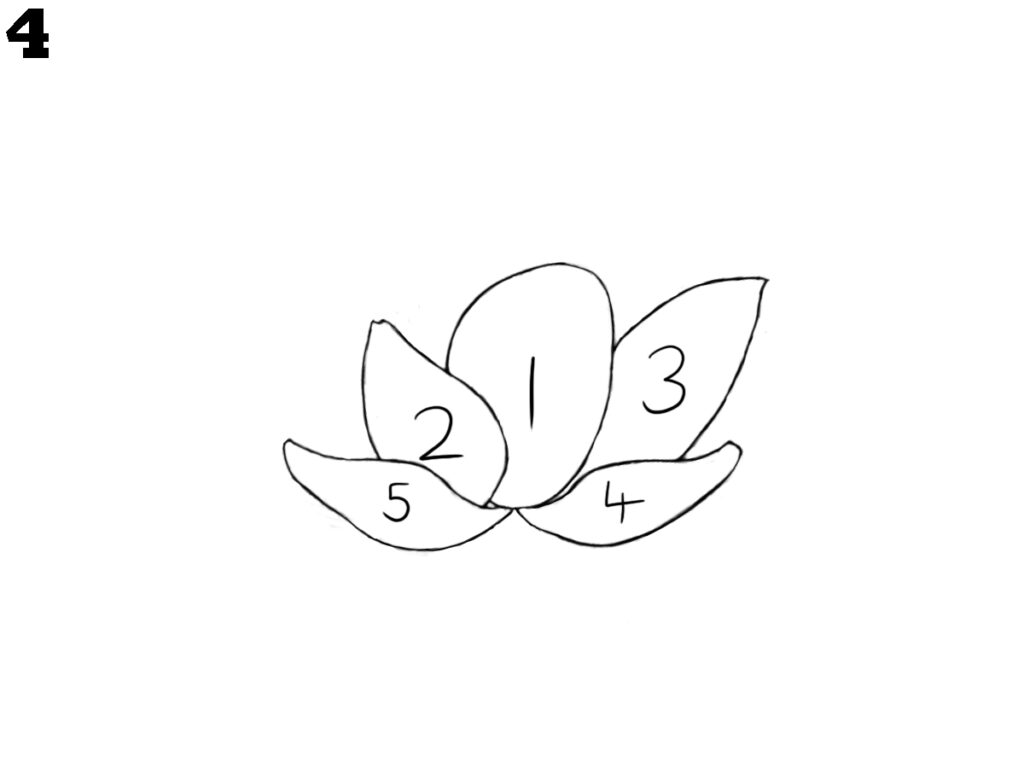
Add two more petals below the first three. These petals should curve upward and overlap slightly with the existing ones. Place one on the left and one on the right bottom side. They will help make the lotus look fuller and more layered.
Step 5 – Add the Outer Side Petals
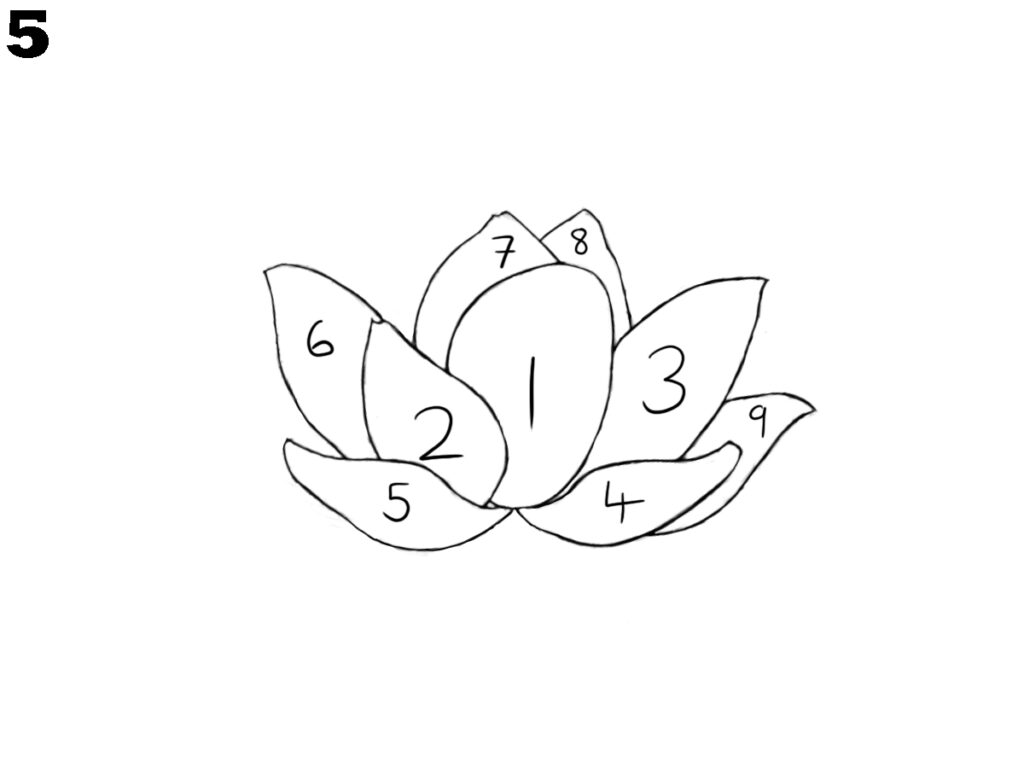
Draw two bigger petals on the far left and far right. These petals should be placed behind the earlier ones and point a little outward. Add one more small petal between the two top petals for extra detail. This step gives the flower a wider look.
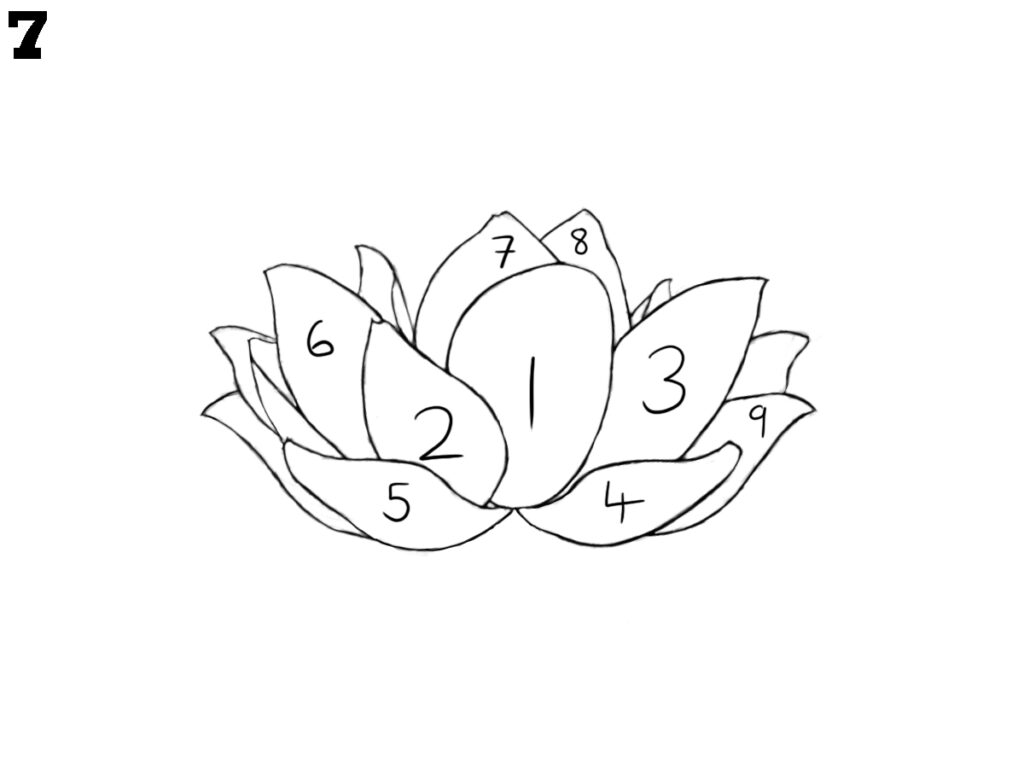
Step 6 – Complete the Outer Layer

Add the remaining outer petals behind the rest. Draw one on each side near the top and one more small petal in the middle. This makes the lotus appear rounder and full. Keep all petals slightly overlapping to show depth in the drawing.
Step 7 – Outline the Whole Flower
Carefully go over all your petals with a smooth outline. Make the lines clean and clear. You can adjust petal edges if needed so they connect well. This outline will make your lotus look neat and ready for extra details in the next steps.
Step 8 – Draw the Stem
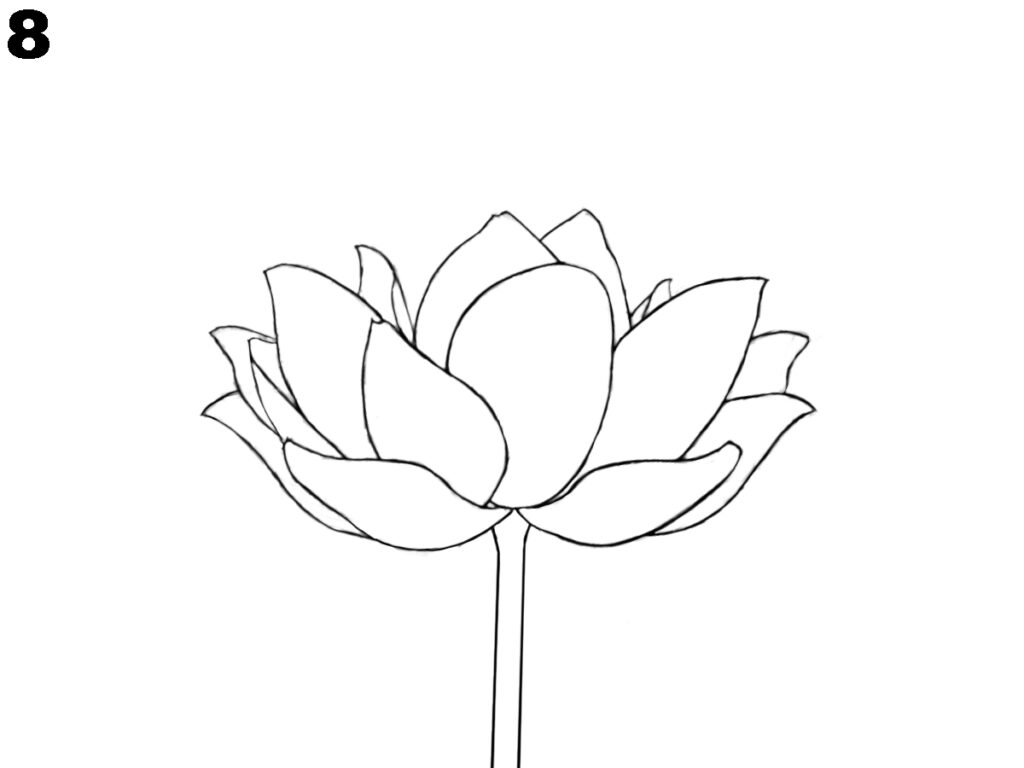
From the bottom center of the lotus, draw two straight vertical lines going downward to make the stem. Keep the lines close together and even in width. The stem should be long enough to balance the flower’s size, making it look more natural.
Step 9 – Add Petal Details
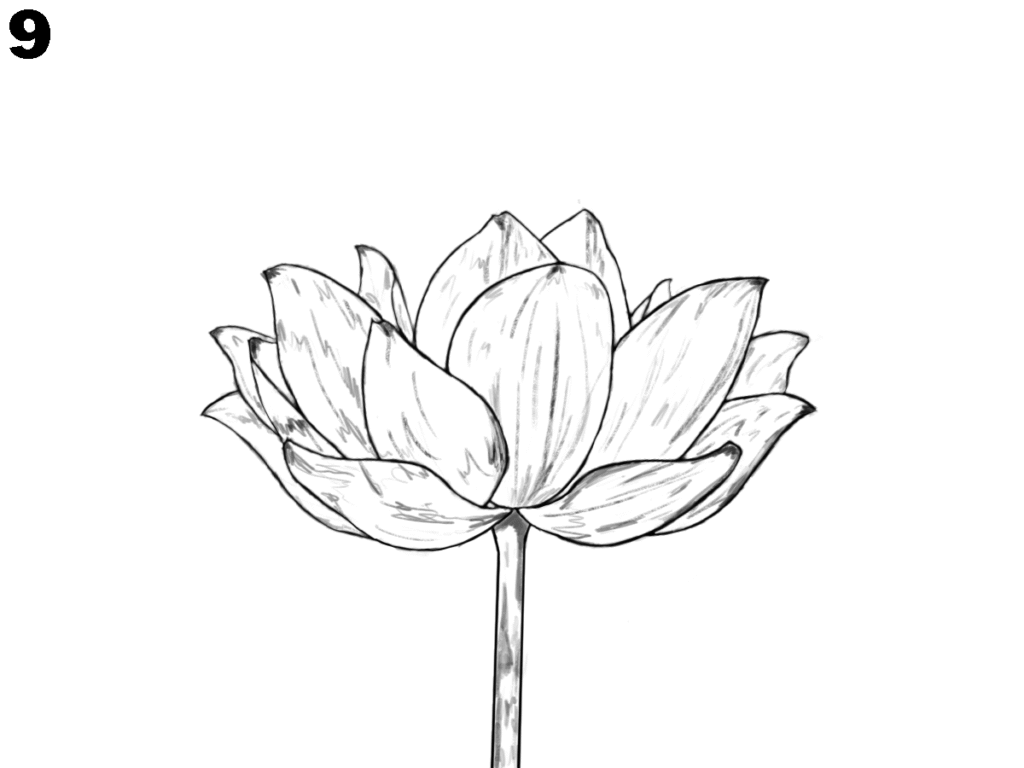
Inside each petal, draw light lines from the bottom toward the tip to show texture. These lines should follow the shape of the petal. Keep them soft and not too dark. This detail will make the lotus look more realistic and interesting.
Step 10 – Shade and Finish

Finally, shade the petals gently, leaving lighter parts near the top for highlights. Darken areas where petals overlap to create depth. Shade the stem slightly as well. Your lotus flower is now complete, looking full, balanced, and natural with beautiful petal layers.
Conclusion
By following these steps, you can complete a clean and well-shaped lotus drawing starting from one petal and building each layer. Adding gentle details and simple shading makes the petals look more natural. With practice, you will be able to draw a lotus neatly and confidently any time.


