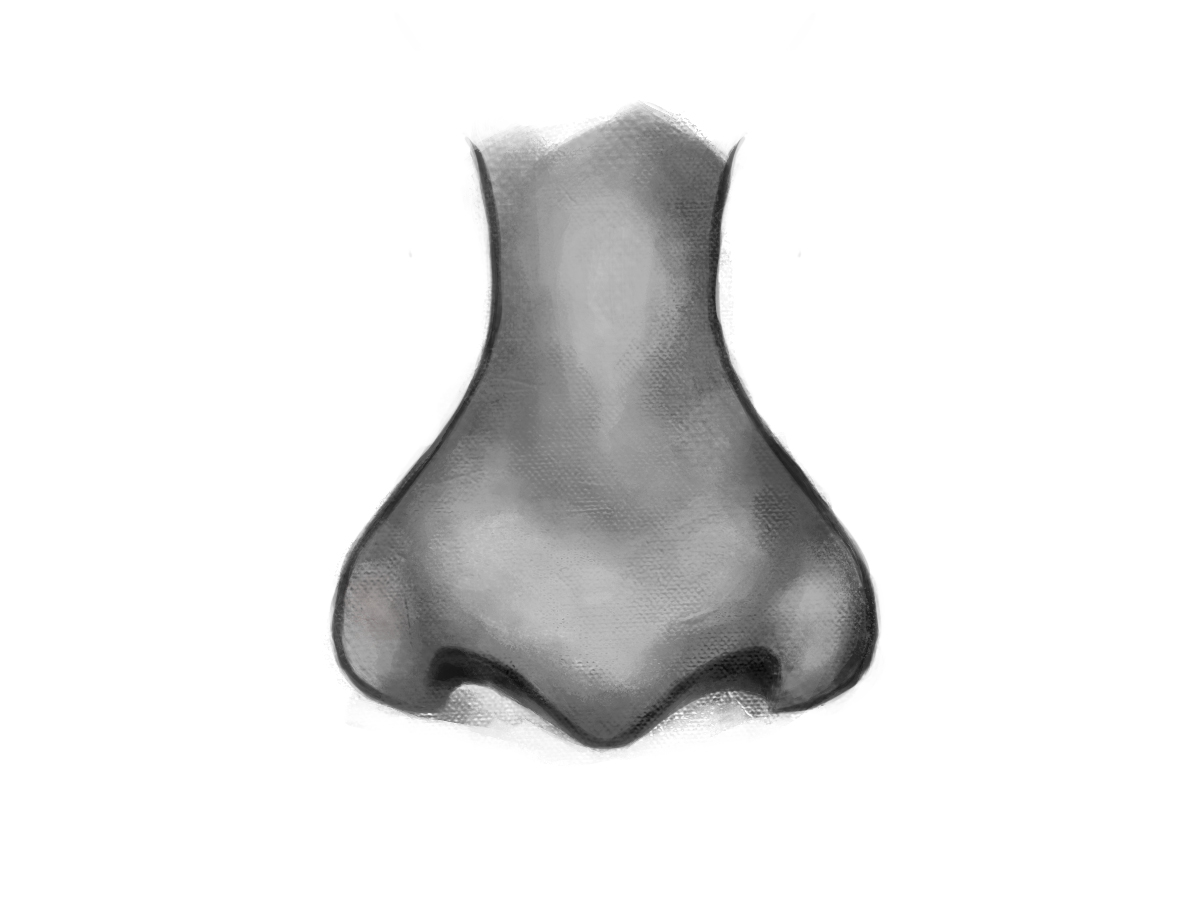
Learning how to draw a nose can be simple when you follow easy steps. This guide will help you create a realistic nose starting from basic shapes and lines. By following the steps below, you can draw a neat and balanced nose without feeling confused.
Step to draw nose
Step 1 – Draw the Base Circle
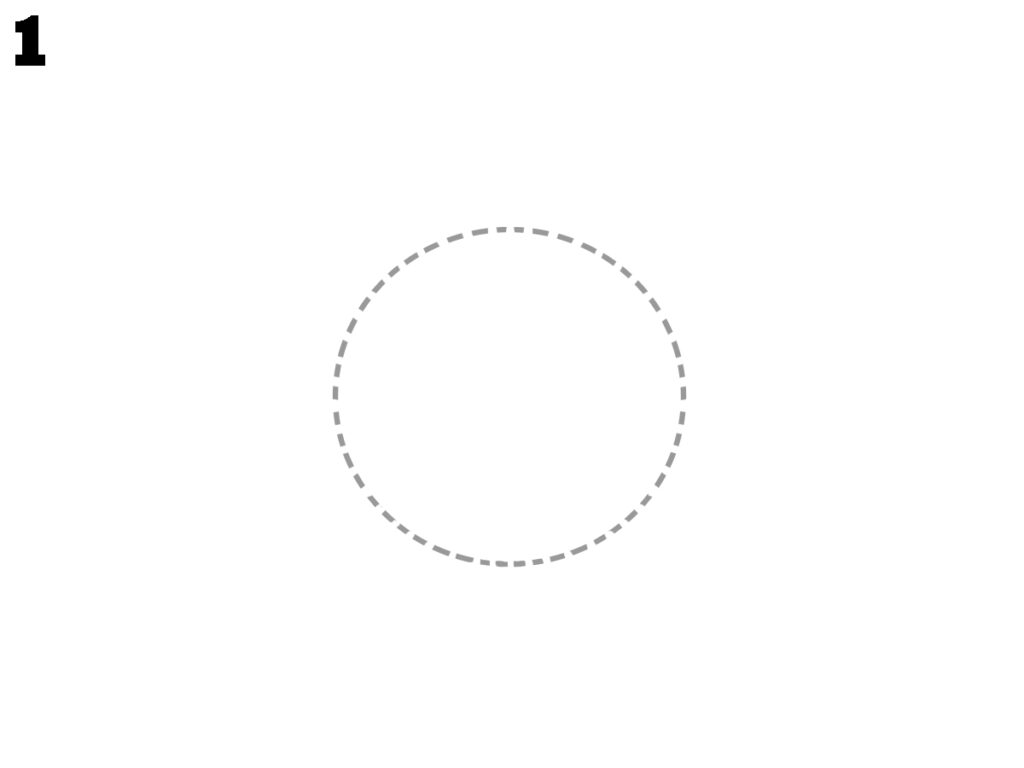
Start by drawing a light circle in the middle of your page. This circle will be the base guide for the nose’s shape. Keep the lines soft so they can be erased later when adding more details.
Step 2 – Outline the Lower Curve
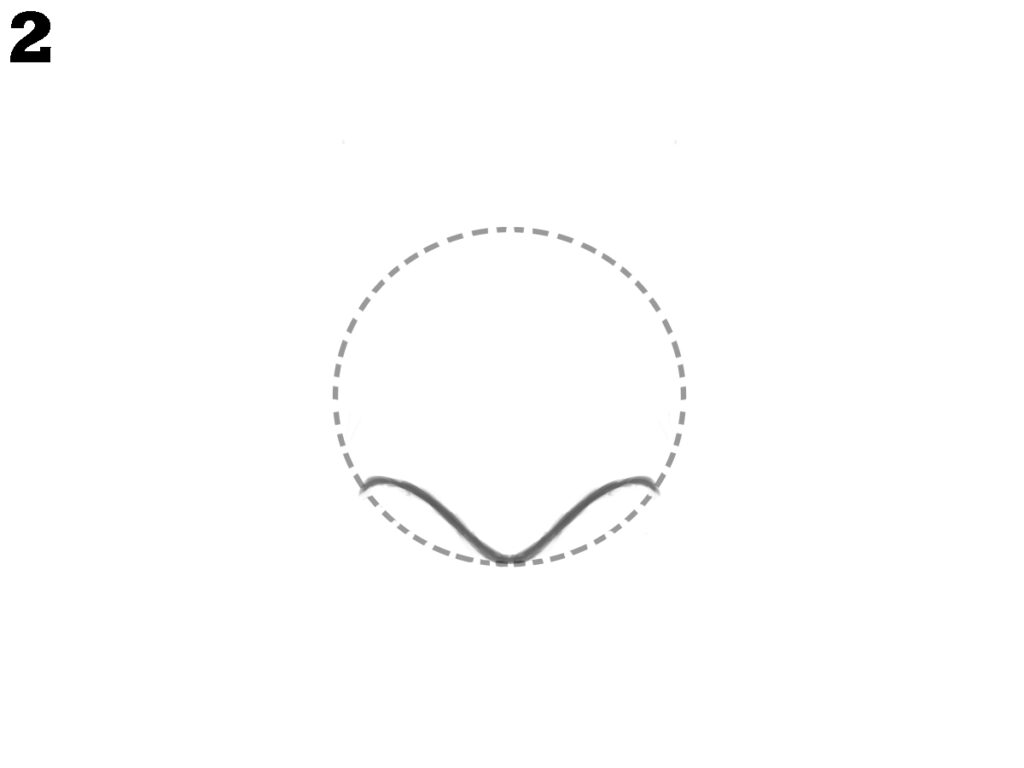
Inside the lower part of the circle, draw a smooth curve with two small upward bumps at each side. This shape will mark the bottom outline of the nose and guide the nostril placement.
Step 3 – Add the Nose Sides
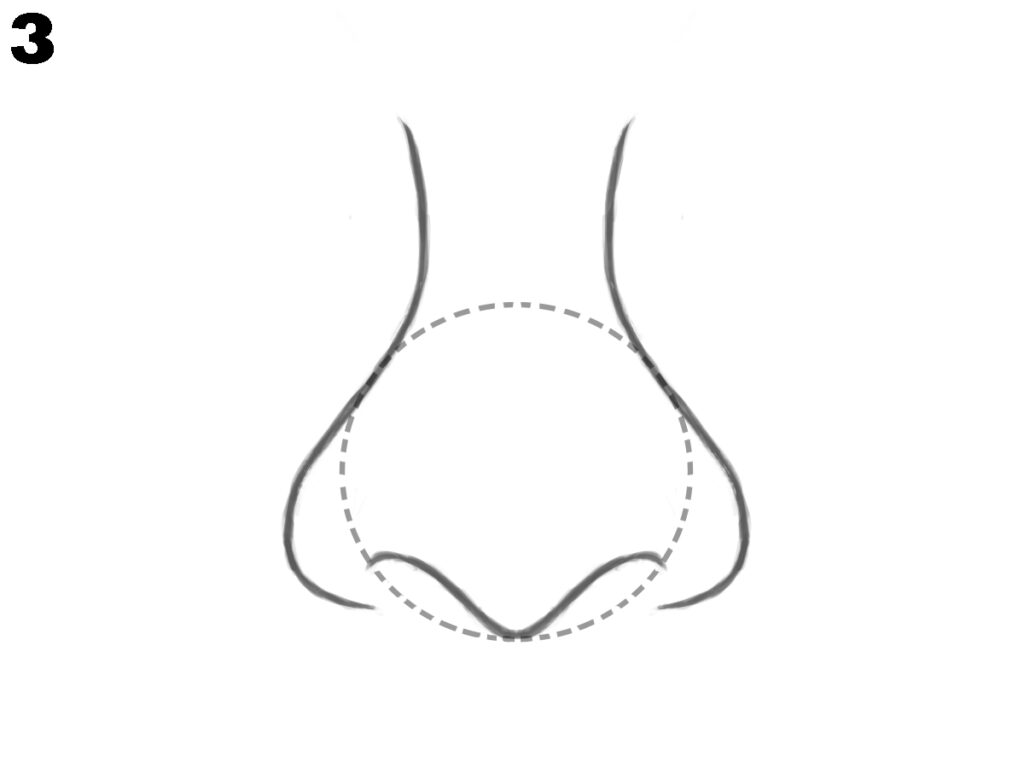
From the top of each small bump, draw a smooth line going upward and slightly outward to form the sides of the nose. Make sure the curves are gentle, keeping the overall shape even and balanced on both sides.
Step 4 – Add Basic Shading Areas
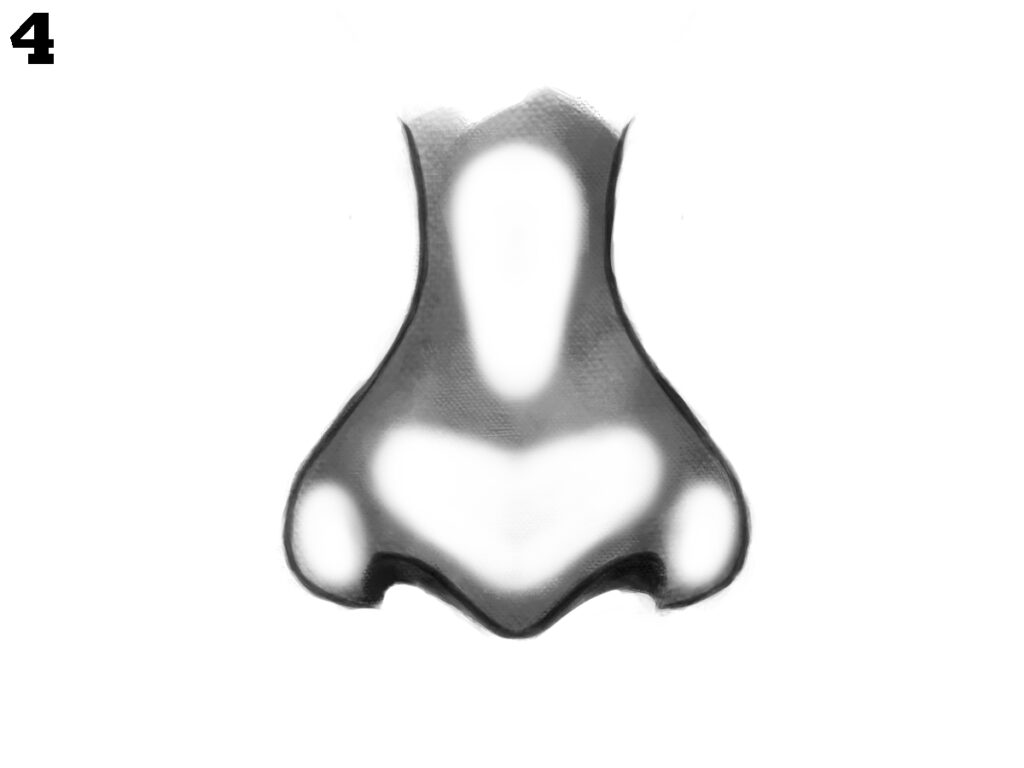
Lightly shade the sides of the nose, leaving a clear area in the middle to create a highlight effect. Also, shade around the nostrils to give the nose depth. Keep your shading soft for now, as you will refine it later.
Step 5 – Complete with Final Shading
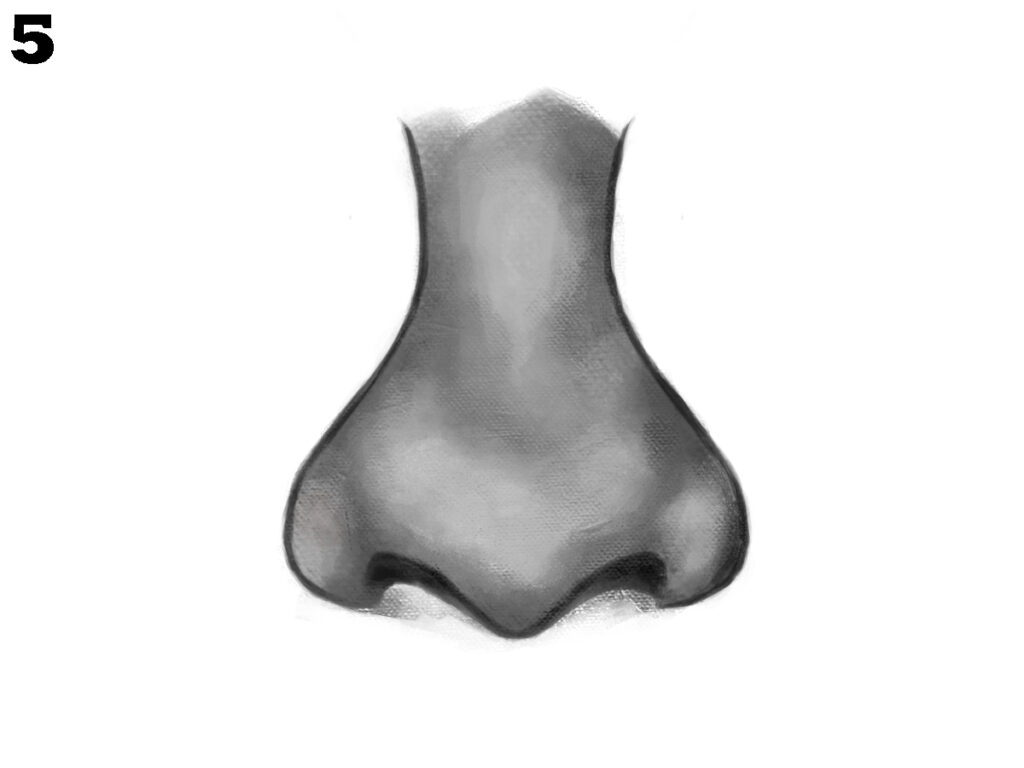
Blend the shading carefully, making the middle part lighter and the sides darker. Add more depth to the nostrils and smooth out all edges. This step will make the nose look more realistic and complete.
Conclusion
Drawing a nose becomes much easier when you begin with simple shapes and slowly add details. By starting with a circle, adding curves, and shading carefully, you can create a natural-looking nose. Practice these steps often to improve your skill and gain confidence in nose drawing.