Drawing a candy cane is a simple and fun way to create a festive design. In this guide on how to draw a candy cane, you will follow easy steps to make a neat striped treat. With careful lines, curves, and colors, you can complete your drawing in no time. Let’s begin and bring this classic holiday sweet to life
ways to draw candy cane
Step 1: Draw two parallel lines

Start by drawing two slightly slanted parallel lines. These lines will form the base of your candy cane shape. Keep the spacing even between them, as it will help the candy cane look neat in the final drawing. Make sure both lines are straight and smooth.
Step 2: Curve the top
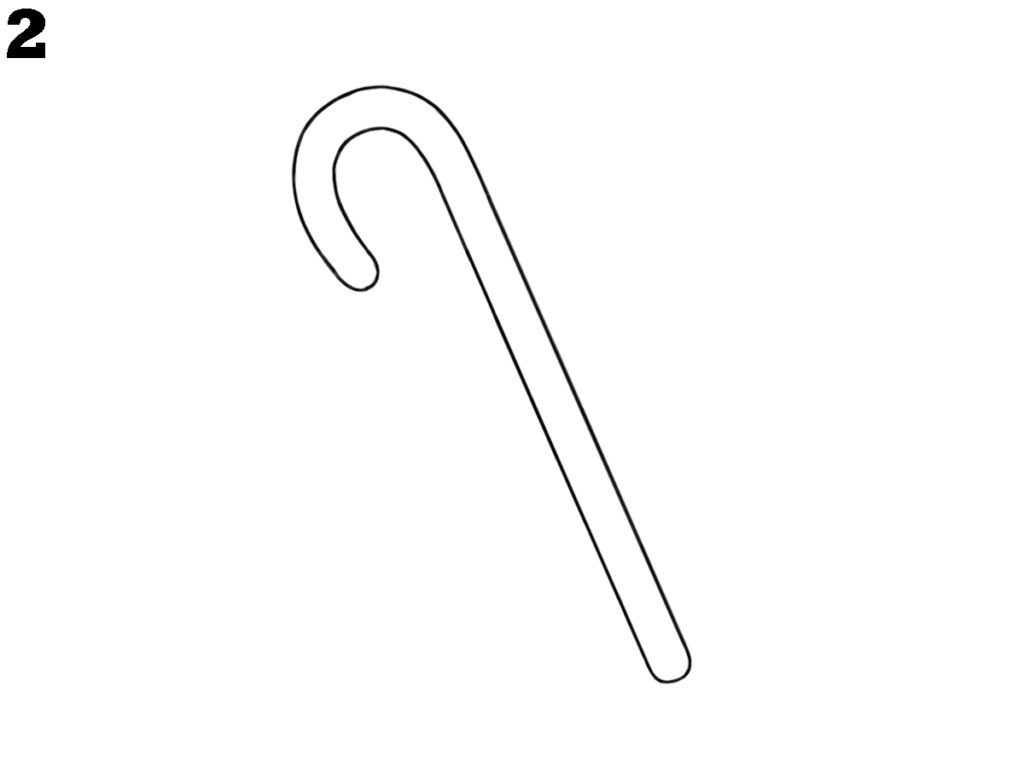
Connect the top ends of the two lines with a curved hook shape. This curve should be rounded like the top of a walking stick. Then, join the bottom ends of the lines with a short rounded edge, creating the complete outer outline of the candy cane.
Step 3: Add diagonal stripes
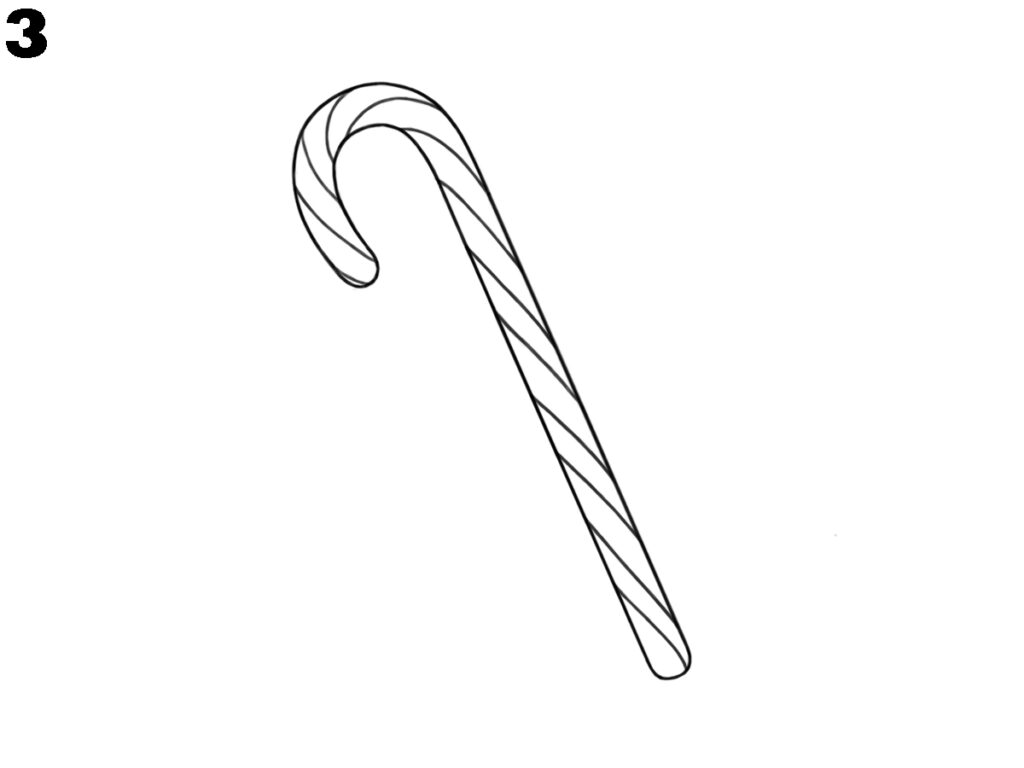
Draw evenly spaced diagonal lines along the length of your candy cane, starting from the top curve to the bottom end. Keep these lines slanted in the same direction. These stripes will be colored later, giving the candy cane its signature pattern.
Step 4: Color the red stripes
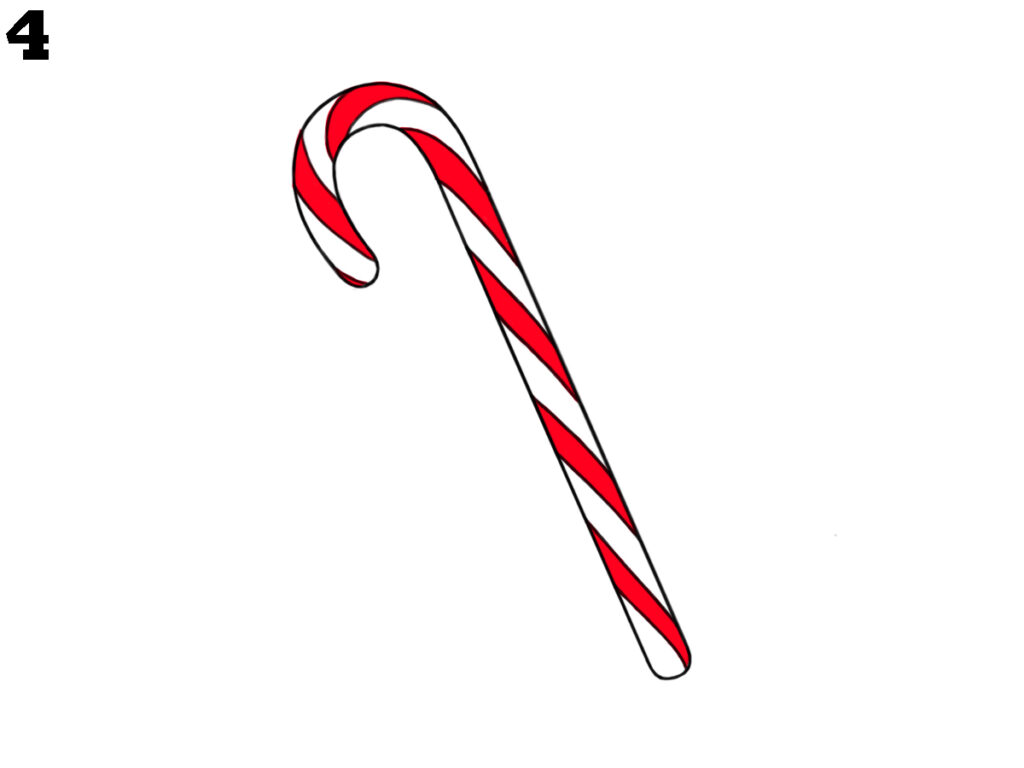
Fill in every alternate diagonal section with a bright red color. Make sure the edges of each stripe are neat, and keep the white sections clean. This step begins to make your candy cane look more realistic and festive.
Step 5: Add shading for detail
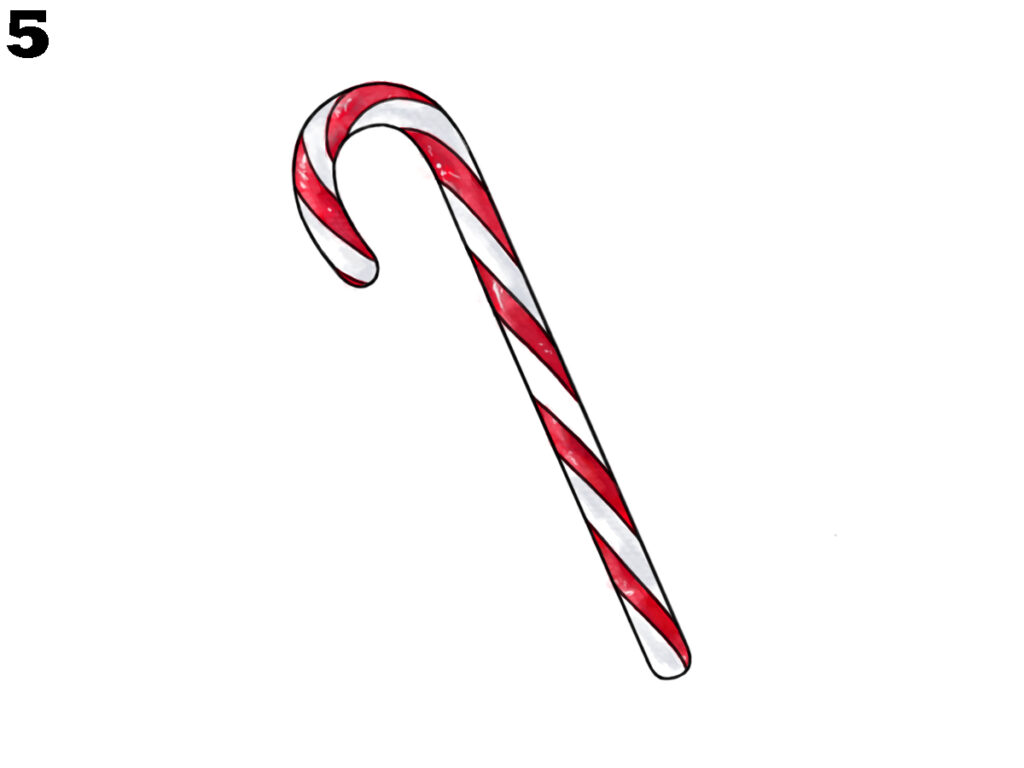
To make your candy cane look more three-dimensional, lightly shade the white areas with a pale gray color. This gives it a soft shadow effect and makes it appear shiny. Keep your shading light, so the candy cane still looks bright and cheerful.
Conclusion
Drawing a nose becomes much easier when you begin with simple shapes and slowly add details. By starting with a circle, adding curves, and shading carefully, you can create a natural-looking nose. Practice these steps often to improve your skill and gain confidence in nose drawing.