Drawing cherries is a fun and simple way to practice basic shapes and shading. In this guide on how to draw cherry, you will learn step-by-step how to make the round fruit and thin stems. Each step is clear and easy to follow, so even beginners can enjoy creating a neat cherry drawing.
Learn to draw Cherry
Step 1: Draw the fruit shapes
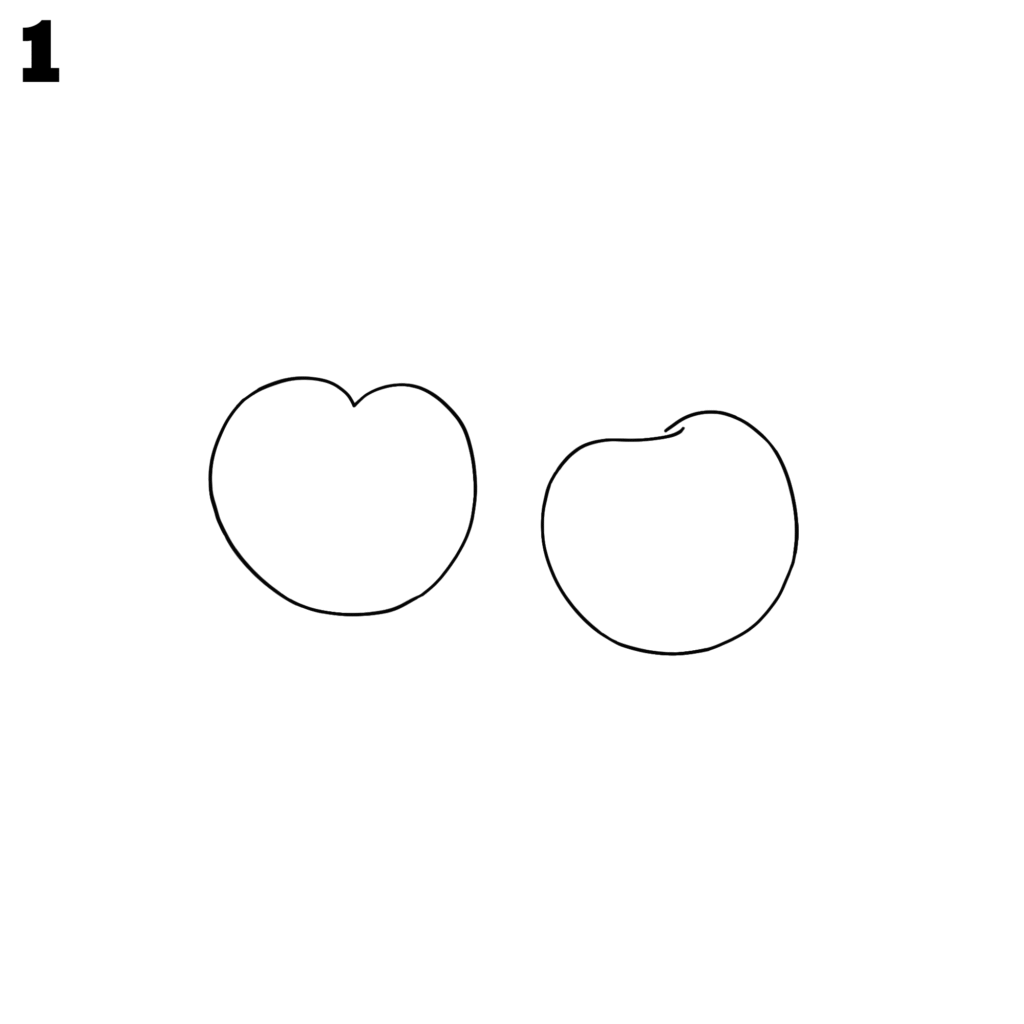
Start by drawing two round shapes next to each other with a small dent at the top of each. These shapes will be the cherries. Make them look slightly uneven so they appear natural. Keep enough space between them for the stems you will add later.
Step 2: Add the stems
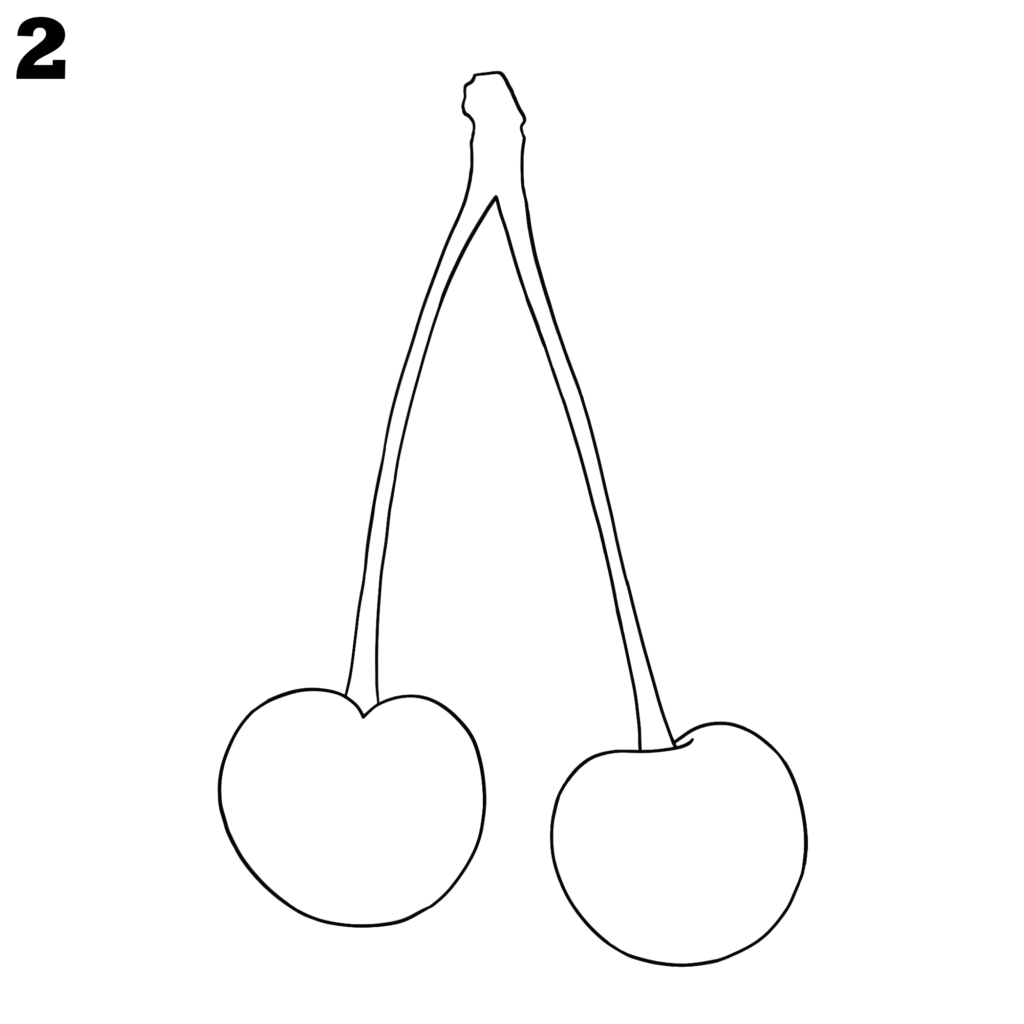
Draw two thin, curved lines from the top of each cherry, bringing them together at the top. Connect them with a short, thicker shape to show where the stems meet. Keep the lines smooth and even for a neat look.
Step 3: Shade the cherries
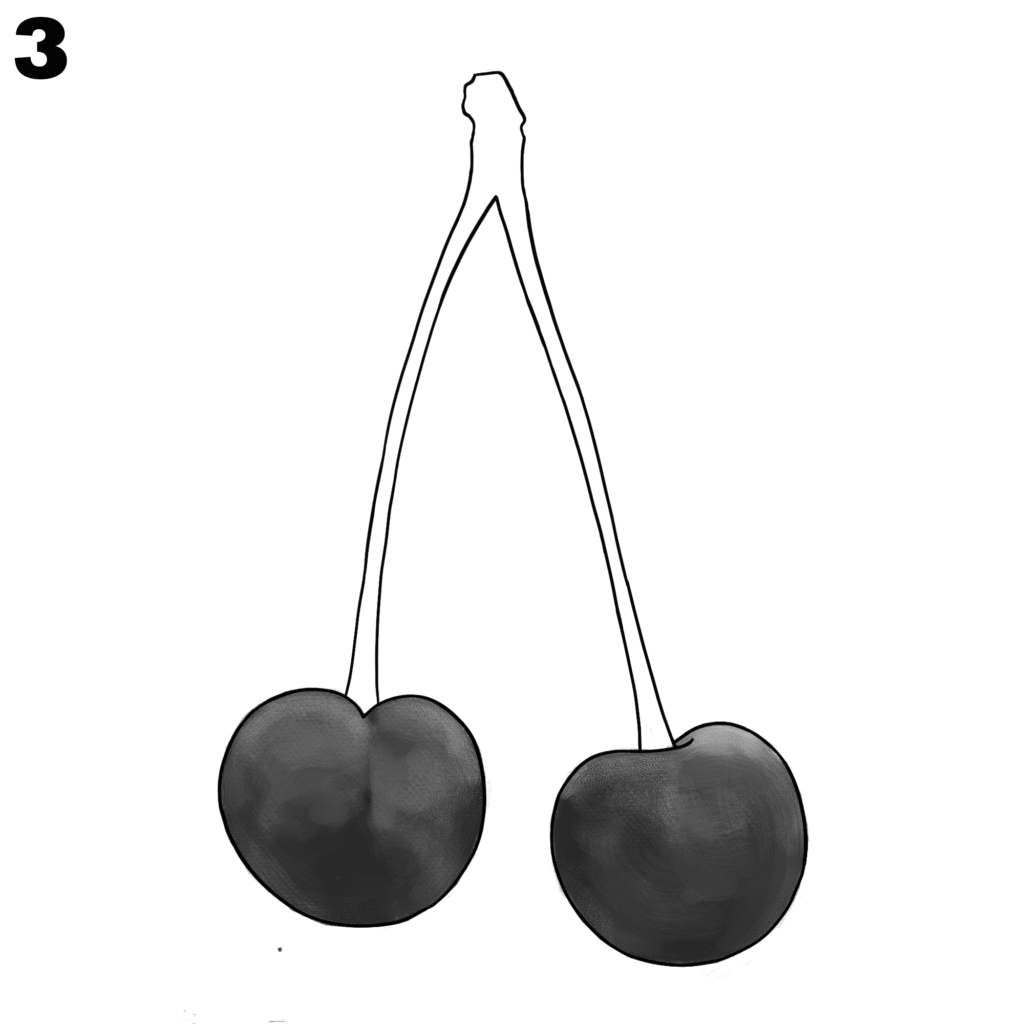
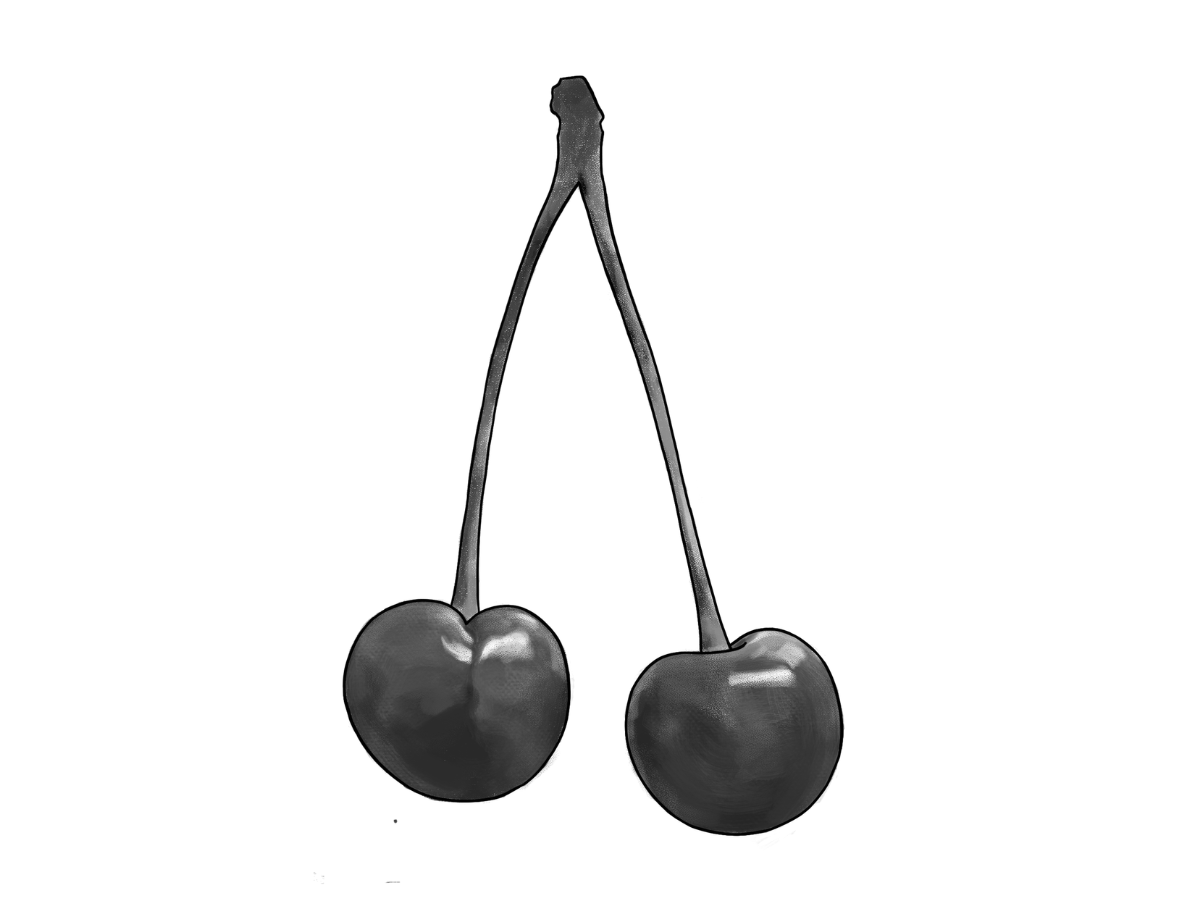
Add light shading to both cherries, keeping darker areas on the edges and lighter parts in the middle. This will help the fruit look round. Make sure the stems stay unshaded at this stage so you can work on them later.
Step 4: Shade the stems
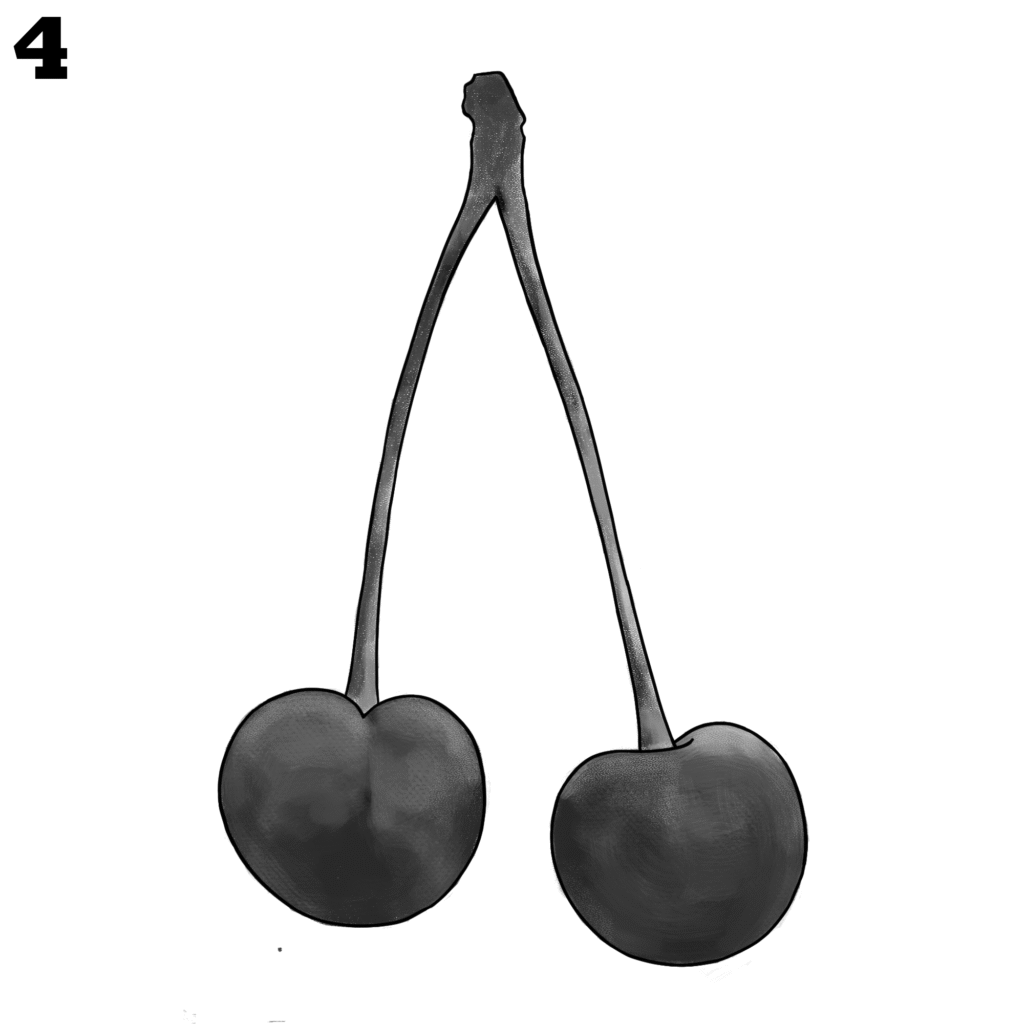
Carefully add shading to the stems, using a darker tone at the edges and a lighter tone in the middle. This gives them a simple three-dimensional look. Ensure the shading matches the direction of the light on the cherries.
Step 5: Final touches
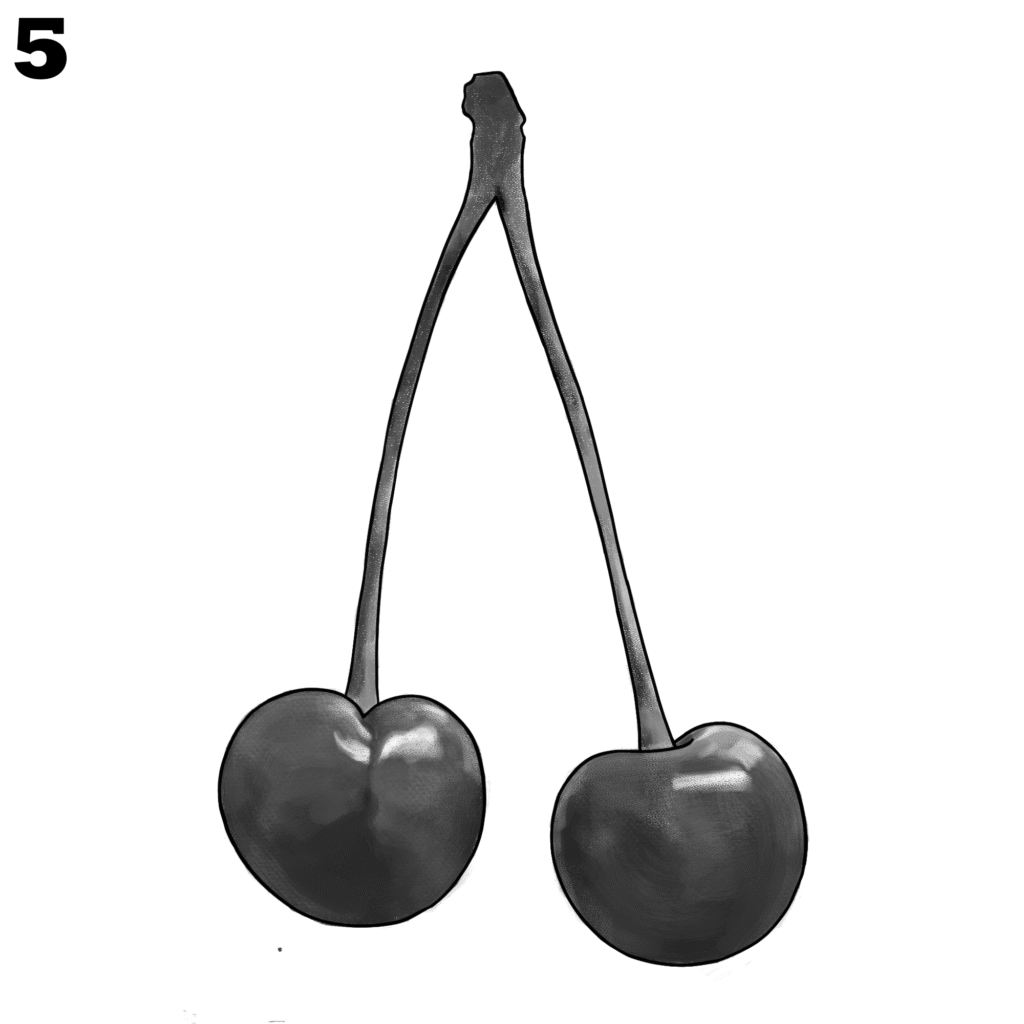
Go over the shading on the cherries, making the highlights softer and the dark areas more even. Check the stems and fruit to make sure they look balanced. This final step will give your cherries a neat and finished appearance.
Conclusion
Now you know how to draw cherry step-by-step with simple shapes and easy shading. By following these five steps, you can create cherries that look clear and neat. Keep practicing to improve your lines and shading, and soon you will be able to draw cherries without needing to follow a guide.