This tutorial shows how to draw a golf ball using simple pencil steps. You’ll learn how to create the ball’s shape, add dimples, and apply shading. It’s a great golf drawing easy method, made especially for beginners and children learning how to sketch realistic sports objects.
draw a golf ball effortlessly
Step 1: Draw the Outer Circle
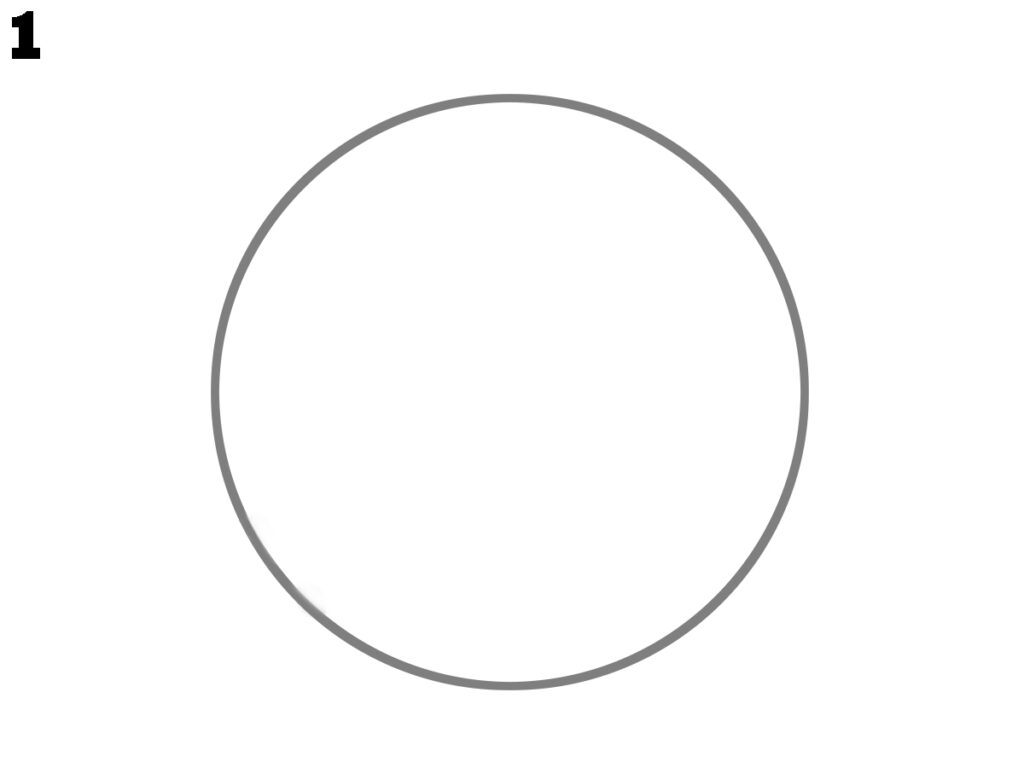
Start by drawing a clean circle. This is the base shape of your golf ball. Use soft pencil lines, and if needed, trace around a round object. A good circle helps your drawing stay balanced. This is the first step in learning how to draw a golf ball easy.
Step 2: Add Light Dimples
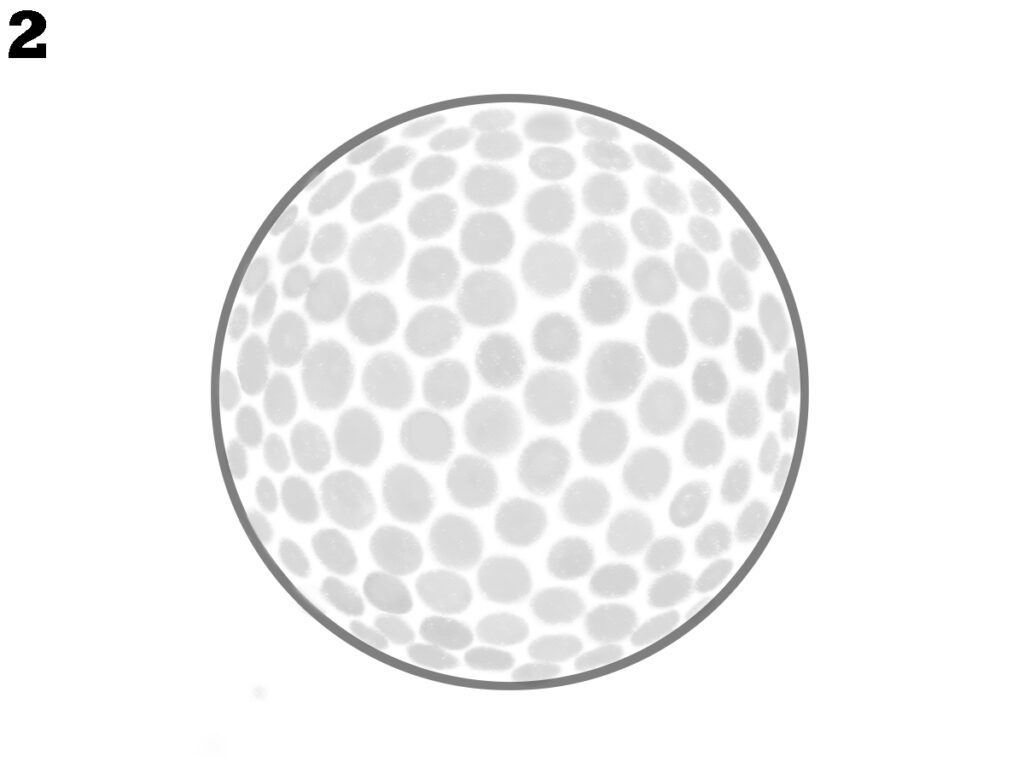
Inside the circle, sketch small, light oval or round shapes. These are the dimples of the ball. Space them evenly and don’t press hard. Keeping them soft helps when shading later. This step is important in how to sketch a golf ball step by step easy using just a pencil.
Step 3: Darken the Dimples and Add Light Shading
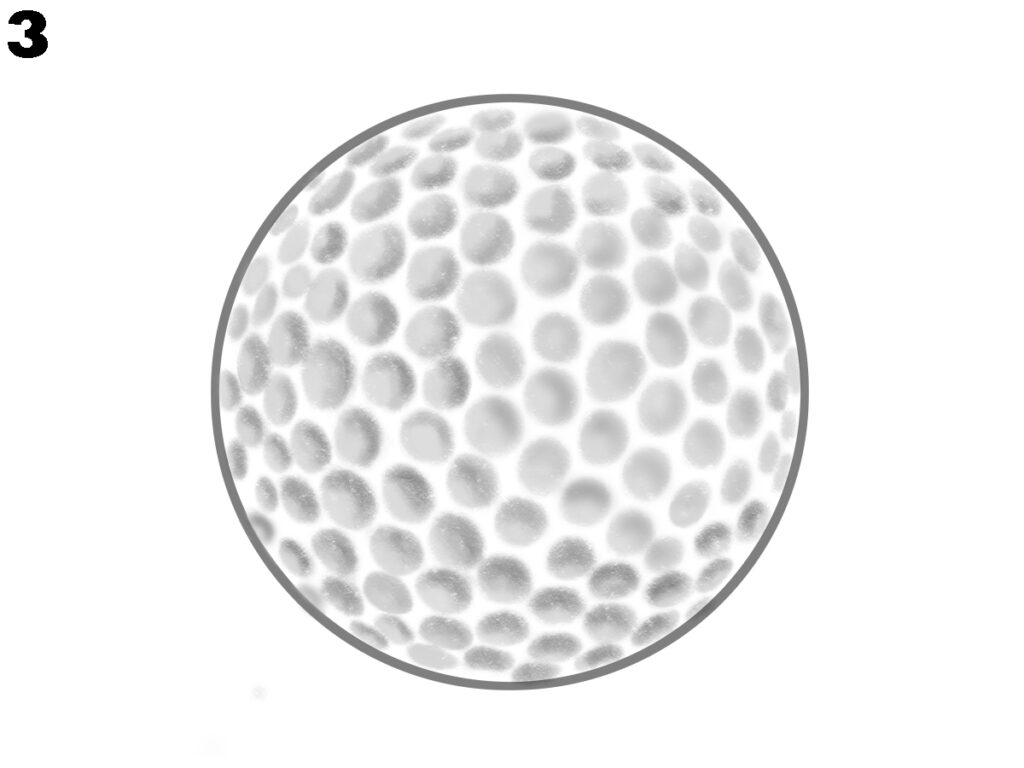
Now, go over the dimples again, making them slightly darker and more visible. Then lightly shade around the edges of the ball. Leave the top part brighter to show where the light hits. This helps your golf drawing easy look more natural and 3D, even with simple tools.
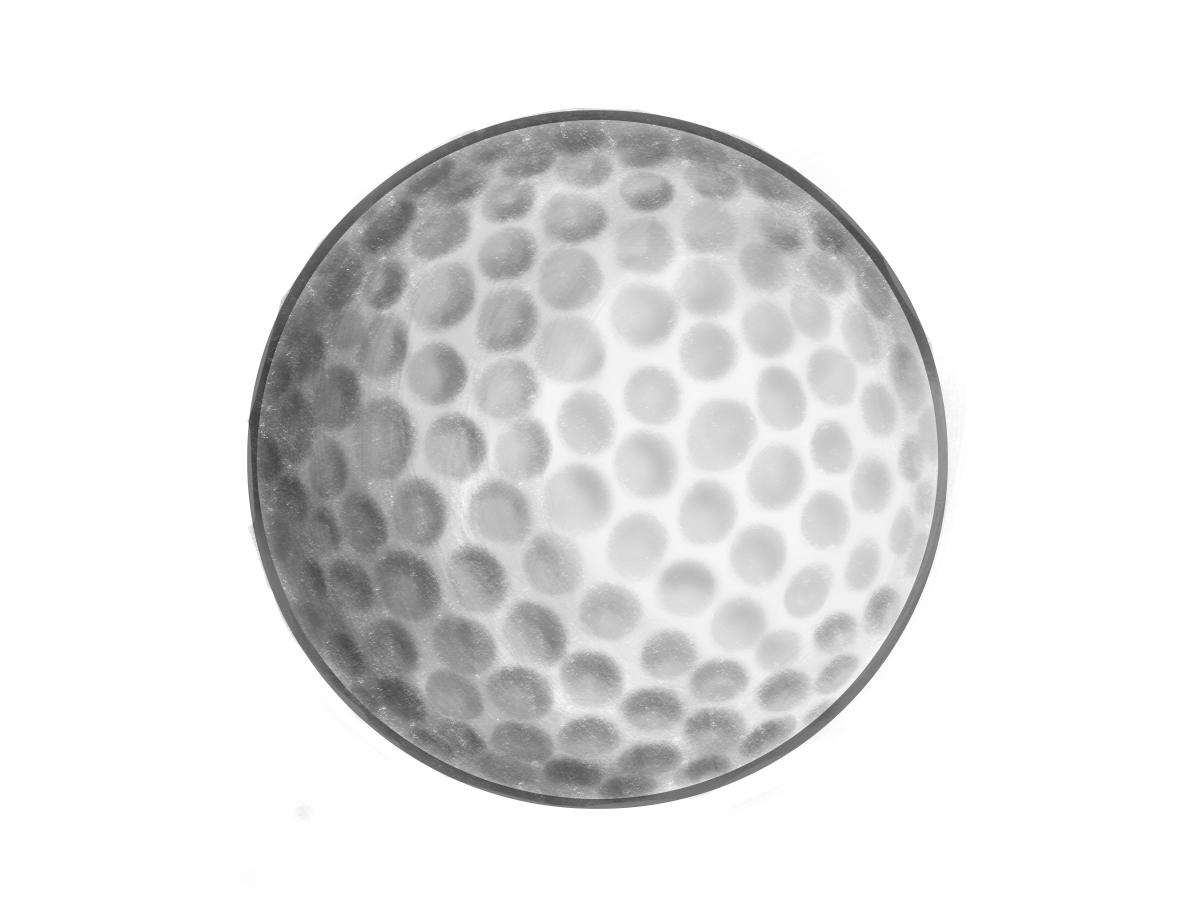
Step 4: Final Shading and Texture
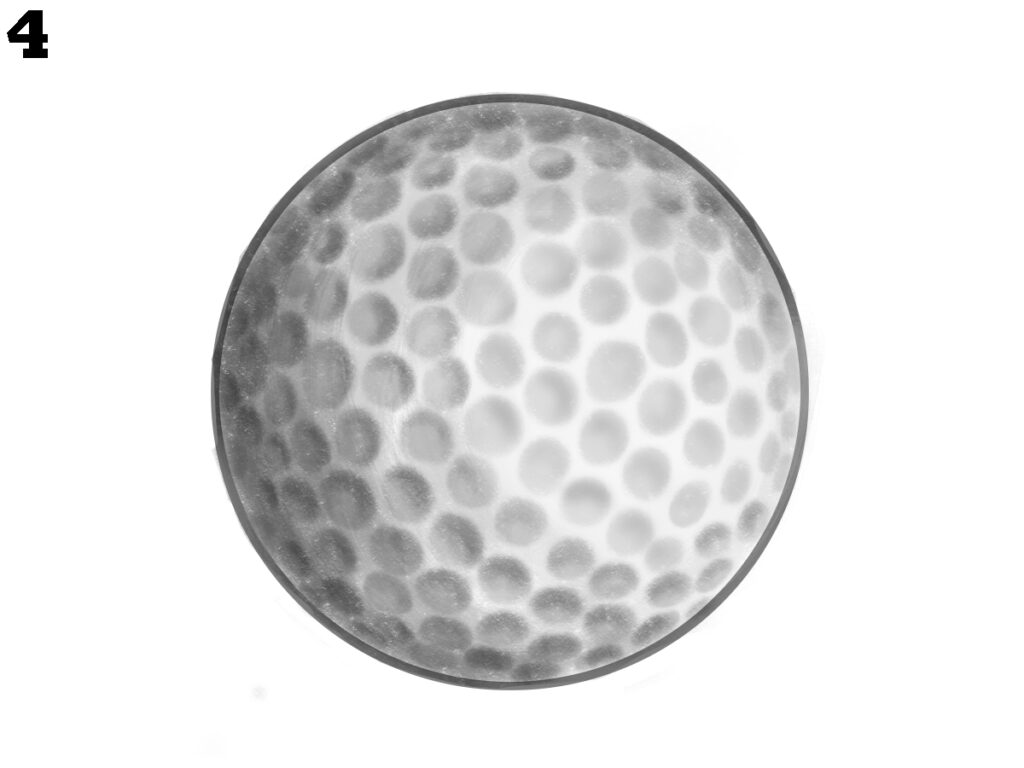
In the last step, deepen the shading at the bottom and around the dimples. Use smooth pencil strokes and keep blending light and dark areas. This creates a soft, round look. Now you’ve learned how to draw a golf ball for kids realistic using a basic pencil technique.
Conclusion
By following these 4 steps, you’ve learned how to draw a golf ball in a clear and simple way. Using only a pencil, you created the shape, added dimples, and shaded it for a realistic finish. Keep practicing this golf drawing easy style to get even better with every sketch.