Learning how to draw a maple leaf can be simple if you follow each step carefully. In this guide, we will go from basic shapes to adding small details. With a pencil and paper, you can make a neat maple leaf drawing easily.
Draw maple leaf
Step 1: Draw the Outside Shape
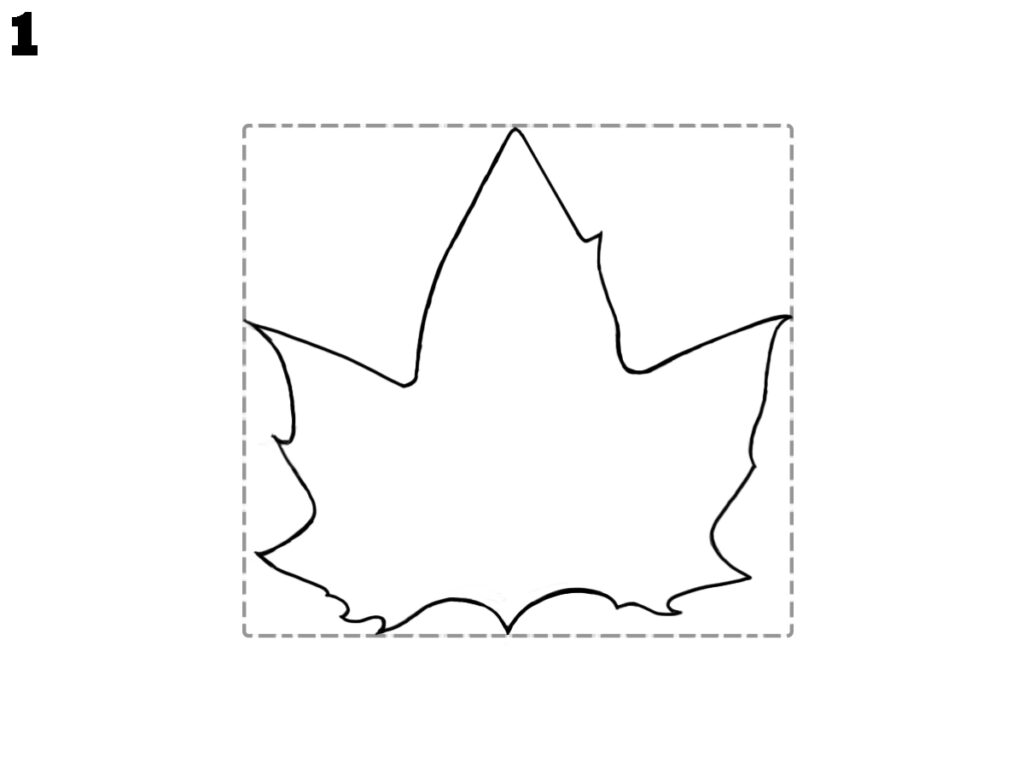
Begin by drawing the outer shape of the maple leaf. It should look wide with five pointed tips — one at the top, two in the middle, and two at the bottom. Keep the lines smooth and curvy. This step gives your maple leaf a basic structure to work on. It helps guide the full drawing in the next steps.
Step 2: Add the Main Guideline
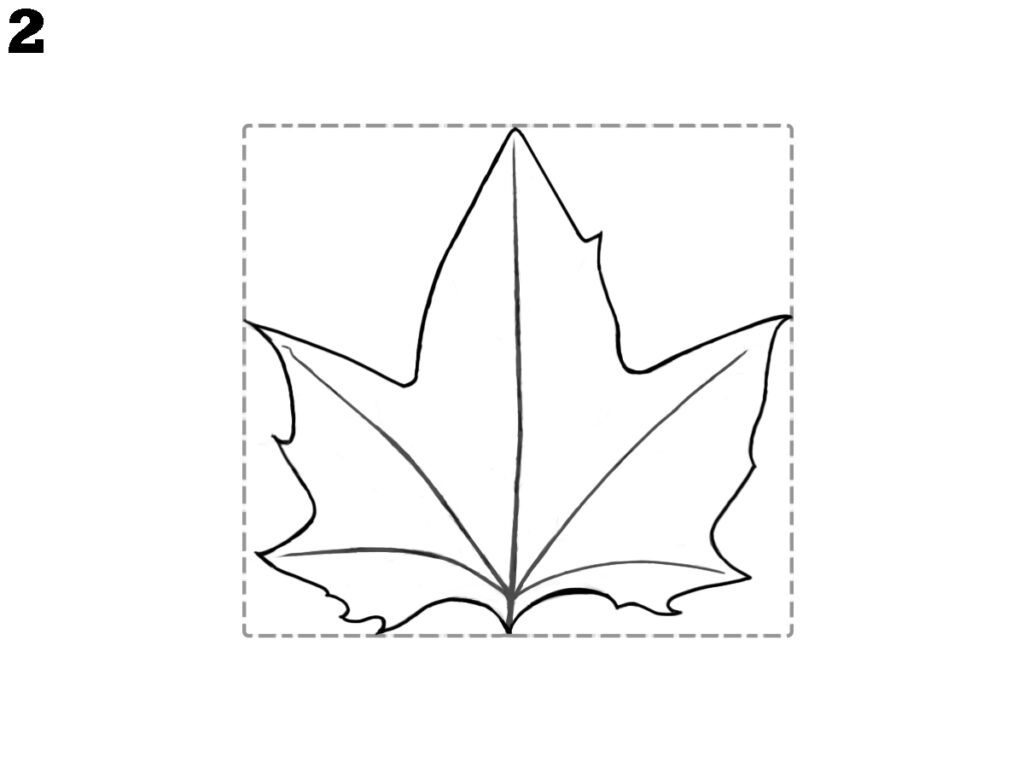
Next, draw one long straight line from the bottom to the top. This is the middle line that helps balance both sides of the leaf. Now add two slanted lines from the bottom part, one going left and one going right. These will guide the other parts of the leaf and help keep the shape even.
Step 3: Add the Center Veins
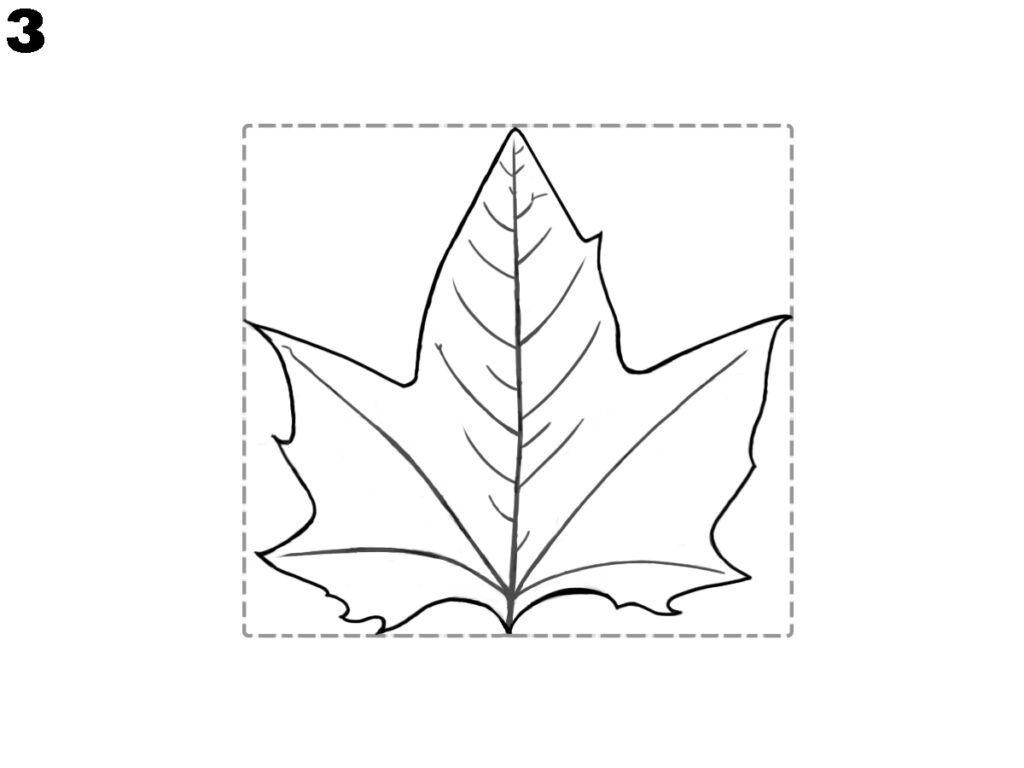
Now start drawing the center veins. These are short lines coming out from both sides of the main middle line. Begin from the top and work your way down. Make sure the lines are slightly curved and spaced evenly. These veins give the center part of the maple leaf more shape and a natural look.
Step 4: Draw Left and Right Veins
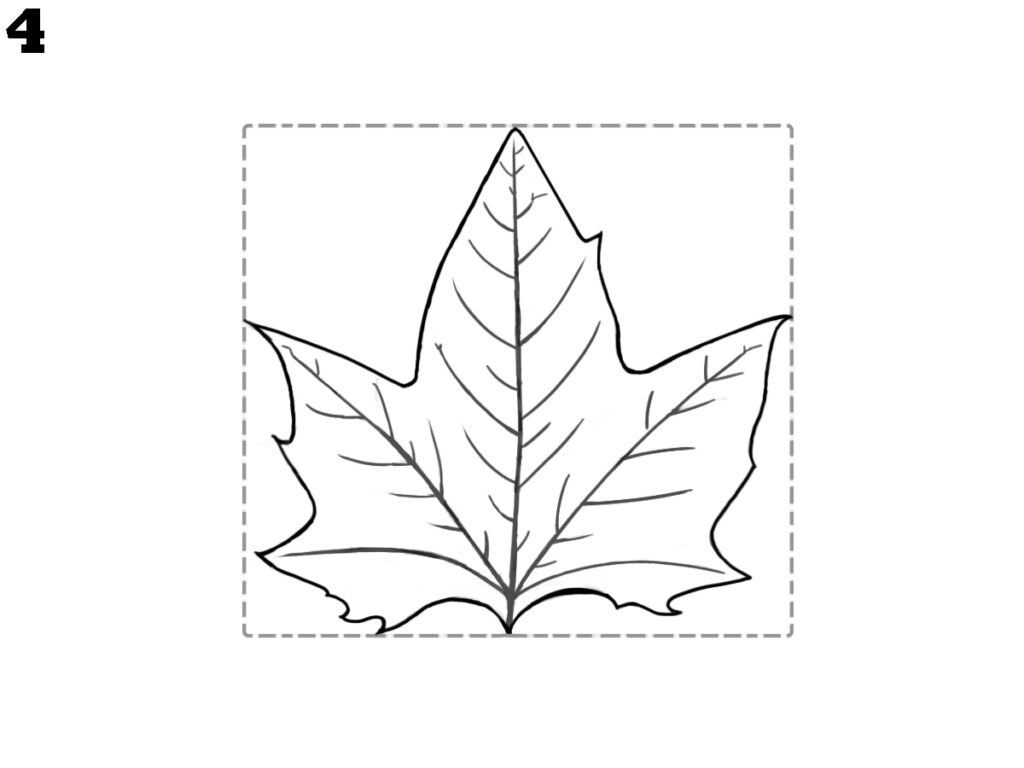
In this step, add longer veins on the left and right sides of the leaf. These veins should start from the middle lines and stretch toward the edges. They help form the side areas of the leaf clearly. Keep the lines neat and slightly curved to match the shape of the outer edges.
Step 5: Fill in Extra Veins
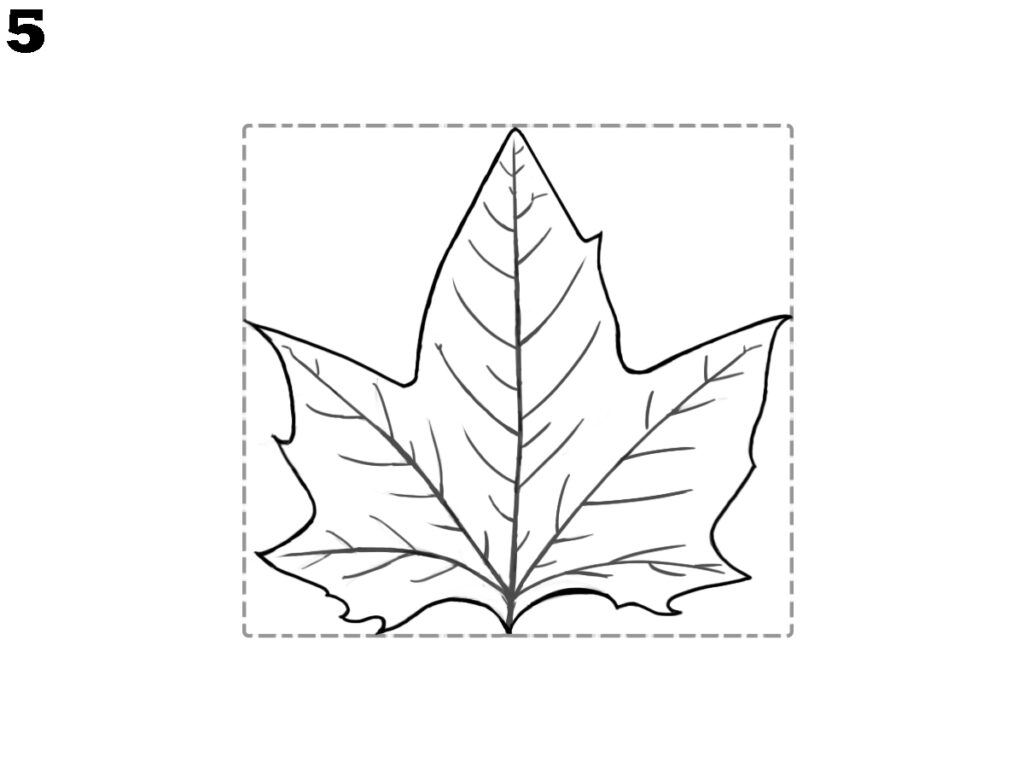
Now, add small extra veins between the ones you already made. These lines go in different directions but follow the shape of the leaf. Add them from top to bottom on both sides. This makes the leaf look more natural and full without using any complex details.
Step 6: Draw the Leaf Stem
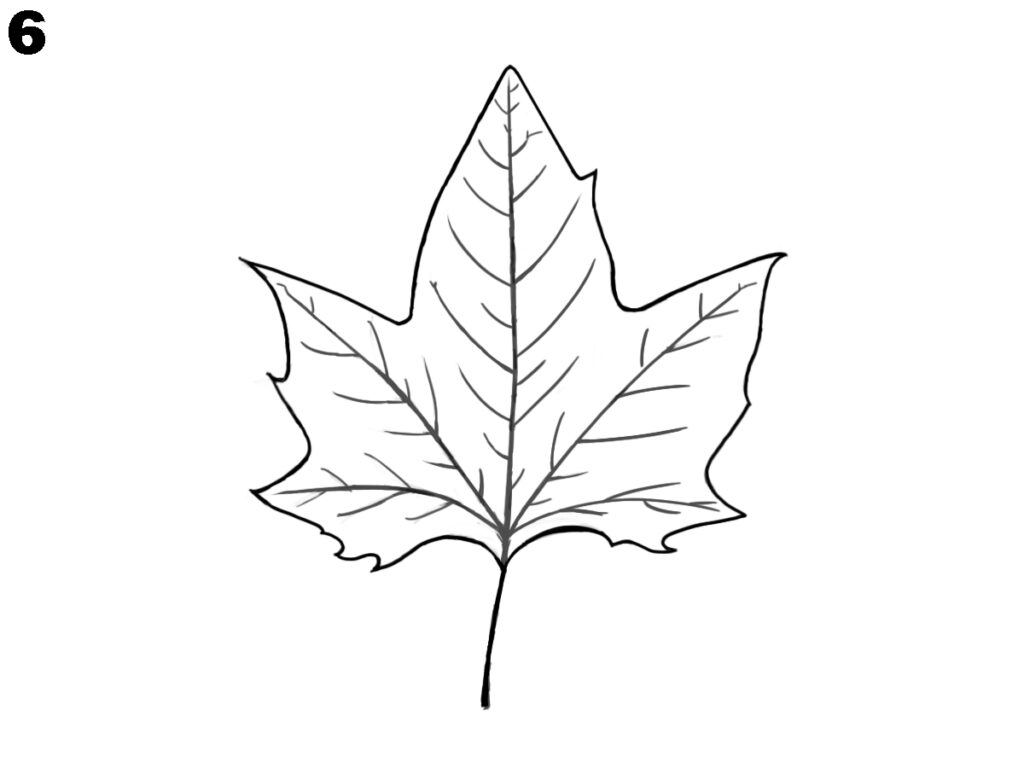
Draw a long thin line from the bottom middle part of the leaf. This line is the stem. You can curve it a little to make it look more real. The stem helps finish the main shape of the leaf and connects it to where it would be on a tree.
Step 7: Lightly Shade the Leaf
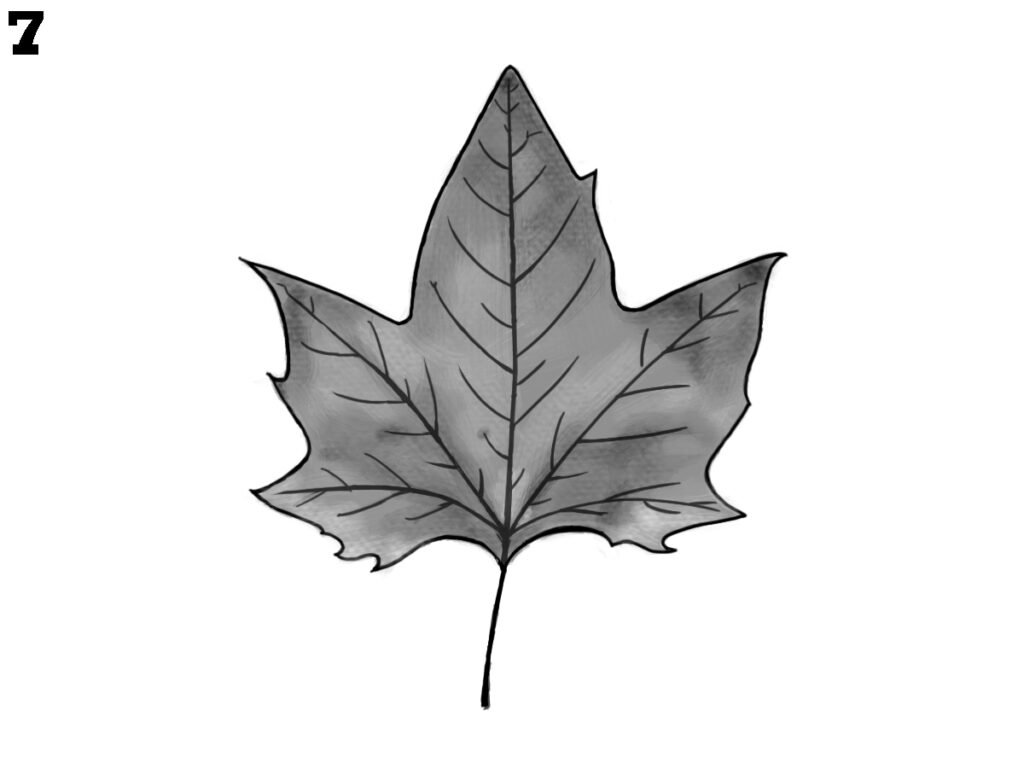
To complete your maple leaf drawing, add soft shading around the inside parts of the leaf. You can shade lightly near the edges and around the veins. This gives your drawing a finished look. Now your maple leaf is complete, drawn in a simple and clear way that’s easy for anyone to follow.
Conclusion
Drawing a maple leaf is easy when you break it into small, clear steps. From shaping the outline to adding the veins, each stage helps complete the drawing neatly. Keep practicing these steps, and soon you will draw a perfect maple leaf anytime you want.