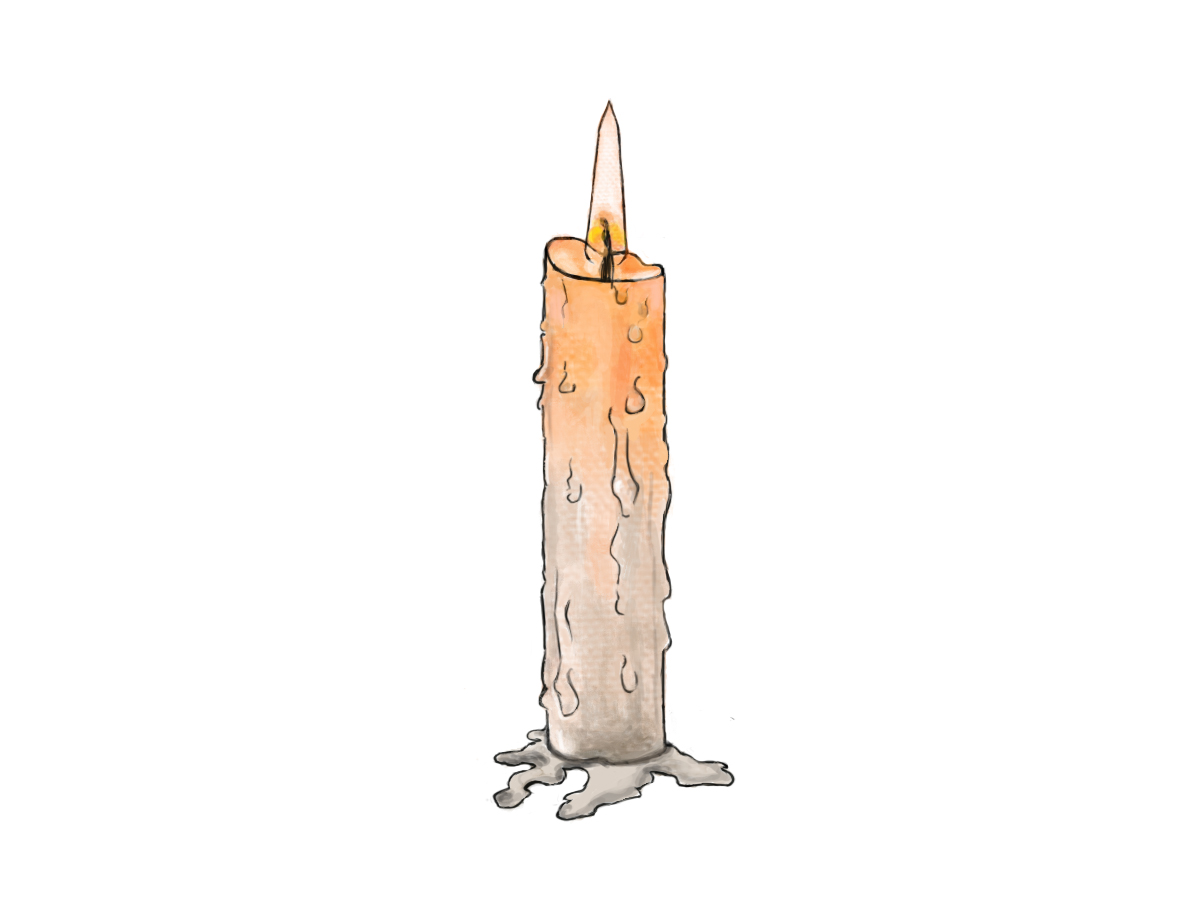
If you want to learn how to draw a candle and add color in a simple way, this guide will help. Each step is easy to follow, starting from drawing the shape to adding the flame and wax details. You’ll also learn how to add color slowly to finish your candle drawing neatly.
easily draw a candle
Step 1: Draw a Basic Candle Shape
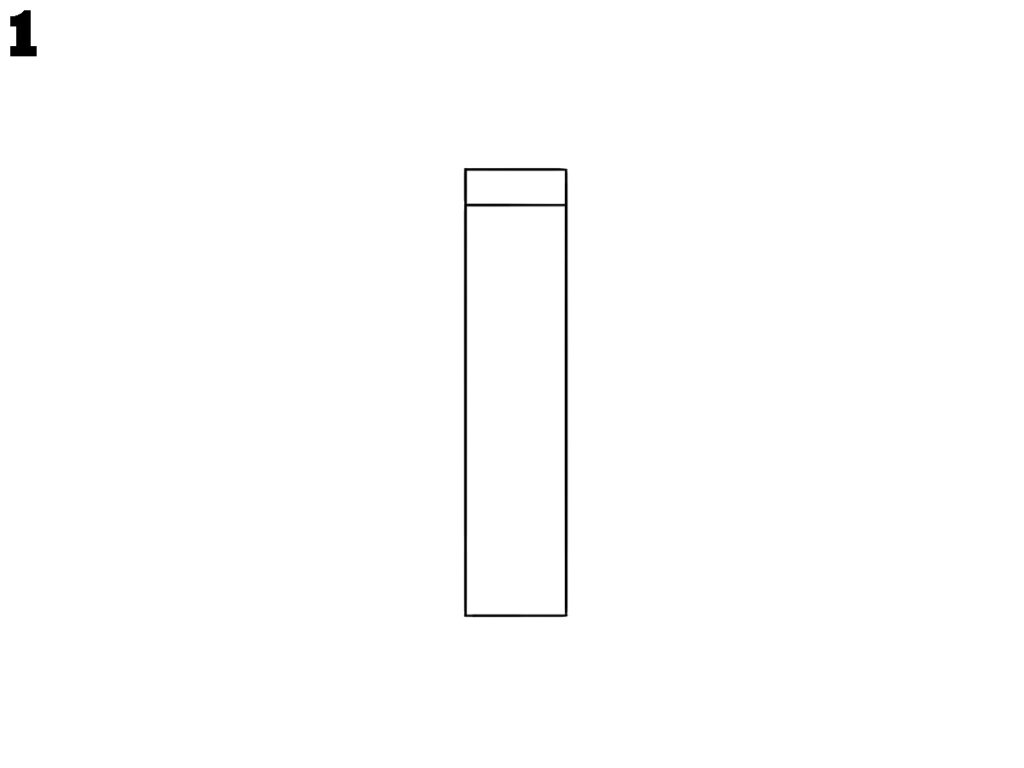
To start your candle colour drawing, make a tall rectangle shape. This will be the main body of your candle. Add a small horizontal line near the top for the top surface. Keep your lines straight and clean. Don’t worry about any details now. This shape is the base for everything else you will add later.
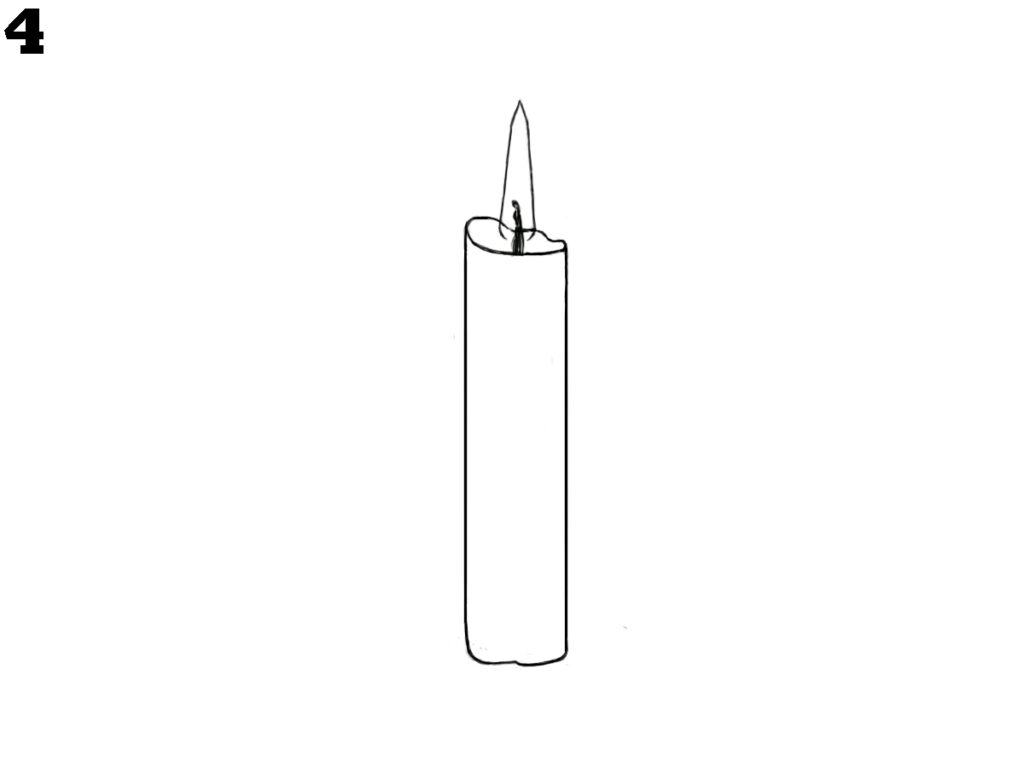
Step 2: Shape the Candle’s Top
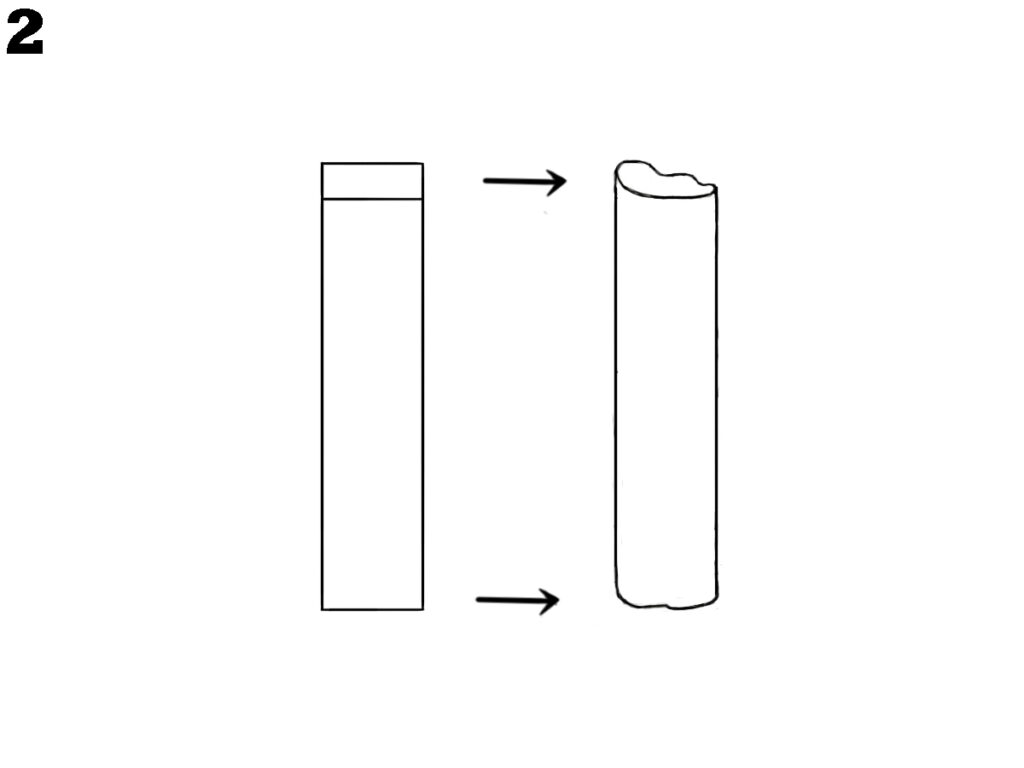
Now, gently change the top line into a wavy shape to look like melted wax. You can also curve the bottom slightly to make it look more natural. This step helps the candle look more real. Keep the rest of the shape simple and focus only on the top and bottom outlines.
Step 3: Add the Wick
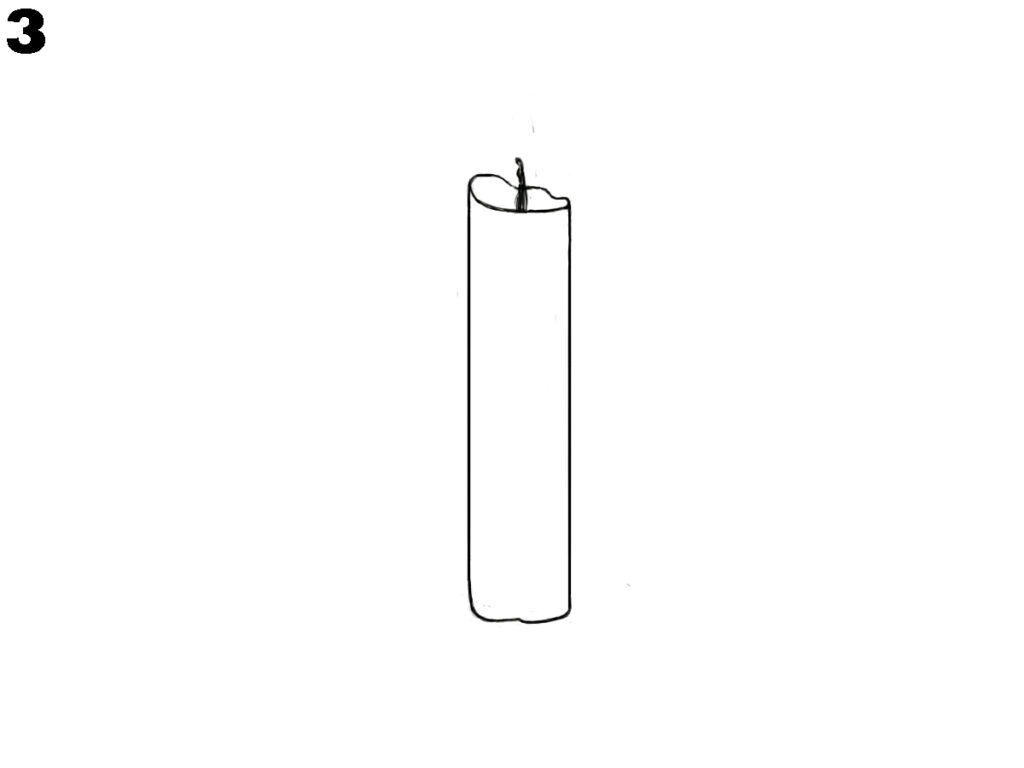
Next, draw a short curved line at the top middle part of the candle. This is the wick where the flame will sit. Make sure the wick is not too thick. It should look like a tiny string standing inside the candle. You can add a small oval around it to show the melted wax hole.
Step 4: Draw the Flame
Now it’s time to draw the flame. Make a tall, narrow teardrop shape above the wick. The flame should sit right on top of the wick and point upward. This shape gives the feeling of a small burning flame. The size should match the candle’s body, not too big and not too small.
Step 5: Start Wax Details
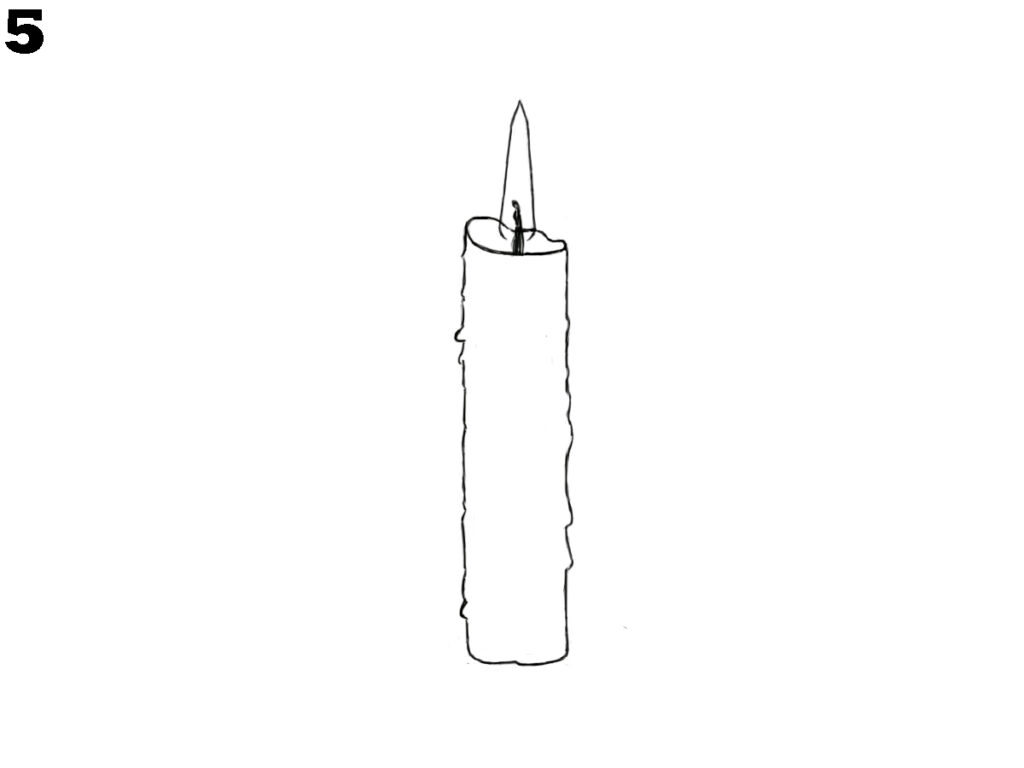
To make your candle colour drawing look more real, add soft lines along the candle sides to show melted wax. These should flow down in a smooth way. Don’t fill the whole candle—just add a few flowing lines. These little details help your drawing look more like a used candle.
Step 6: Add More Wax Drips
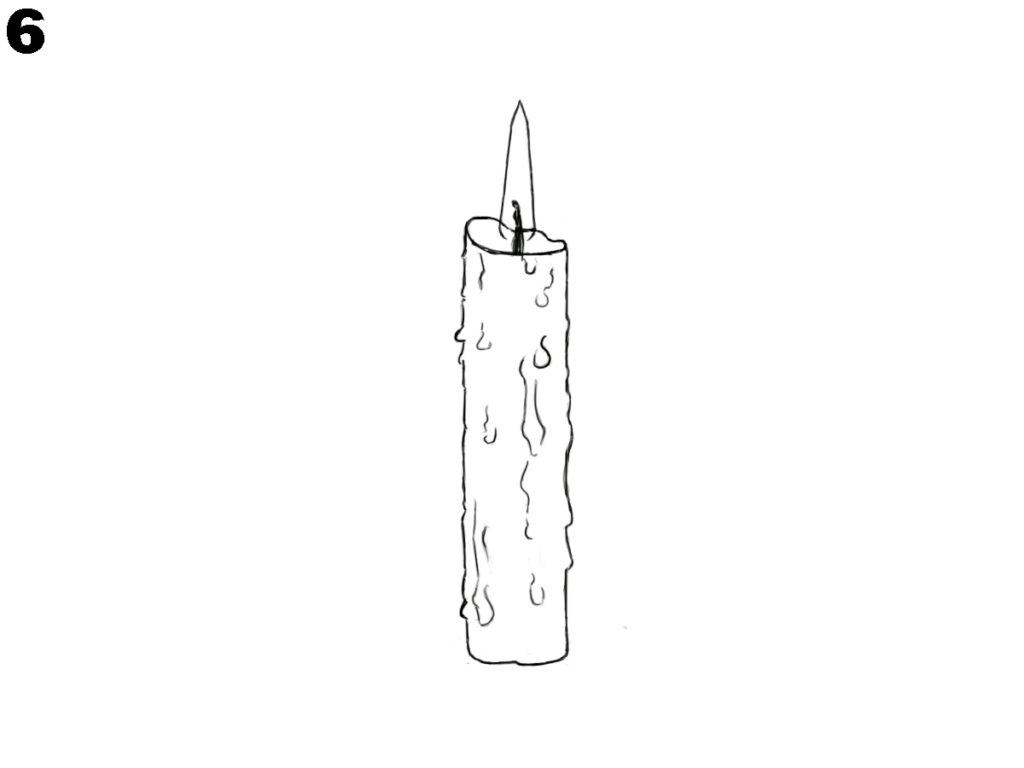
Now, add more wax drips on the candle’s body. Mix long and short lines to show the wax melting. Let them fall from the top edge to different parts of the candle. This makes the candle look used and adds texture. Keep the wick and flame clear without extra marks
Step 7: Draw the Melted Wax Base
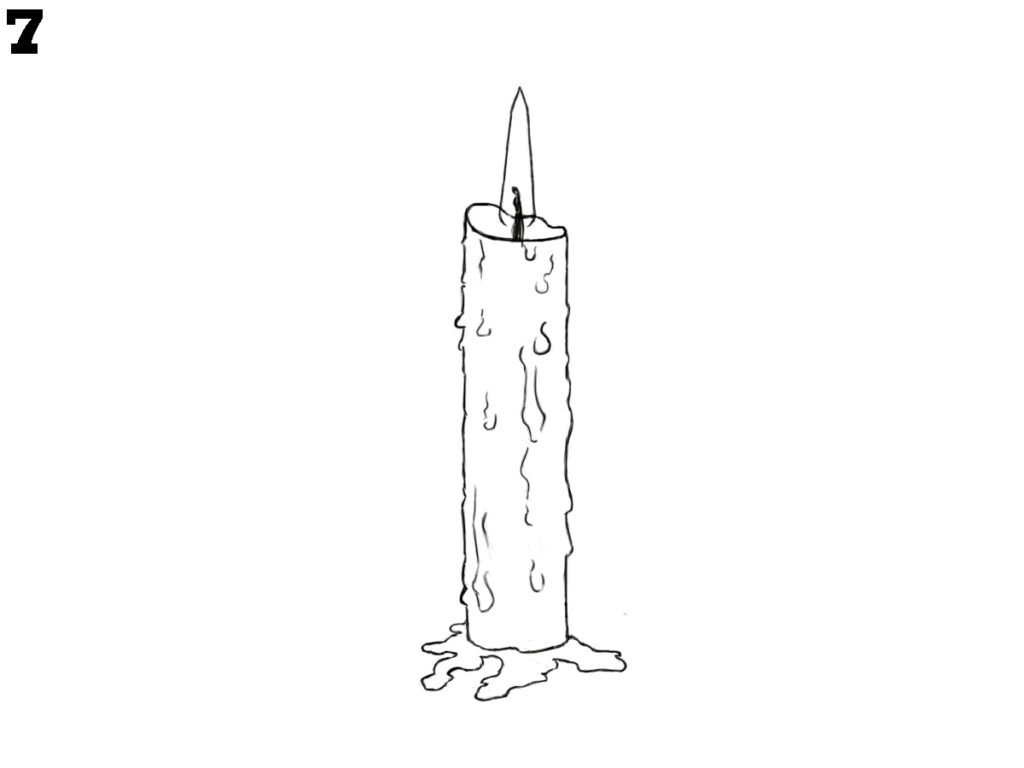
Draw a puddle of wax at the bottom of the candle. Make it spread out slightly around the candle. Use curvy lines to show melted wax on the table. This small touch helps your candle colour drawing feel more complete and gives it a natural look like it’s standing on a surface.
Step 8: Add Colour to the Candle

Now, carefully colour the candle. Use soft orange and yellow for the flame. Colour the top of the candle a warm yellow, and blend it into a soft brown near the bottom. Make the melted wax look shiny using lighter colours. The puddle can be light grey. This finishes your candle colour drawing in a clean and clear way.
Conclusion
By following each step from the basic shape to the final colouring, you can draw a neat and bright candle. You have now learned how to add the flame, melting wax, and smooth colours. Keep practising to make your candle drawings even better and more clear every time.


