Drawing a Christmas tree can be simple and fun when done step-by-step. In this guide, you will learn how to create a tree starting from basic shapes and adding small details. Follow each step carefully, and you will finish with a neat holiday drawing.
Draw beautiful Christmas tree
Step 1 – Draw the Triangle Shape
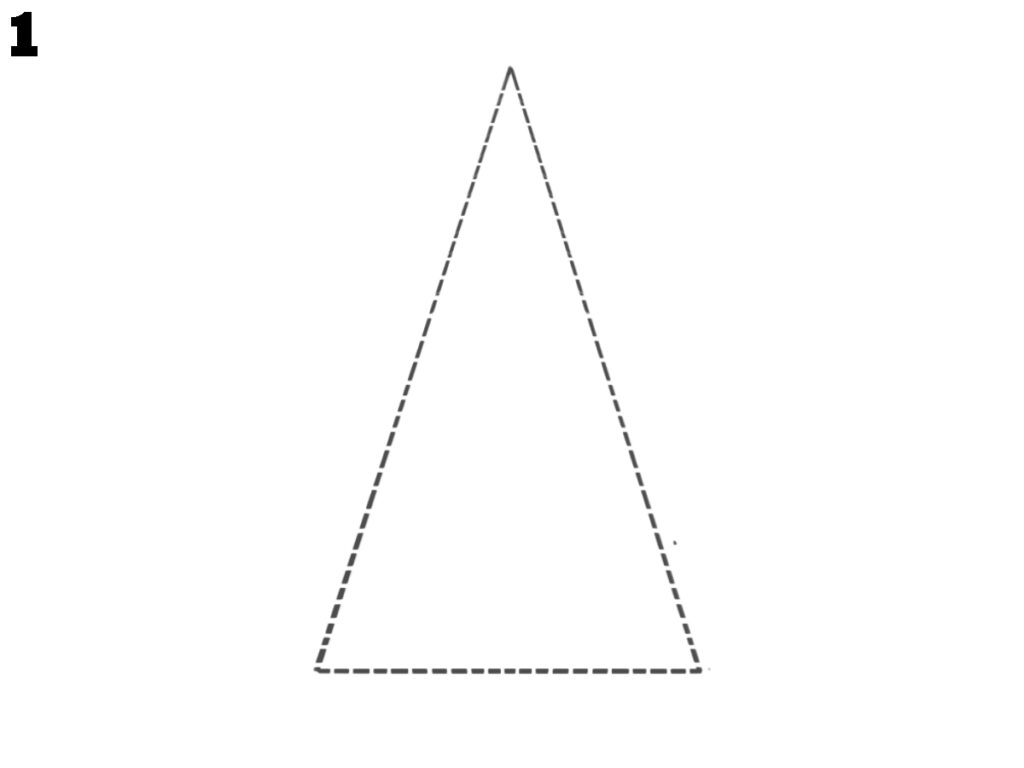
Begin by drawing a tall triangle shape in the center of your page. This triangle will be the outline for your Christmas tree. Keep the lines light so you can erase them later. This shape will guide you in placing the tree’s branches evenly.
Step 2 – Add the Top Branches
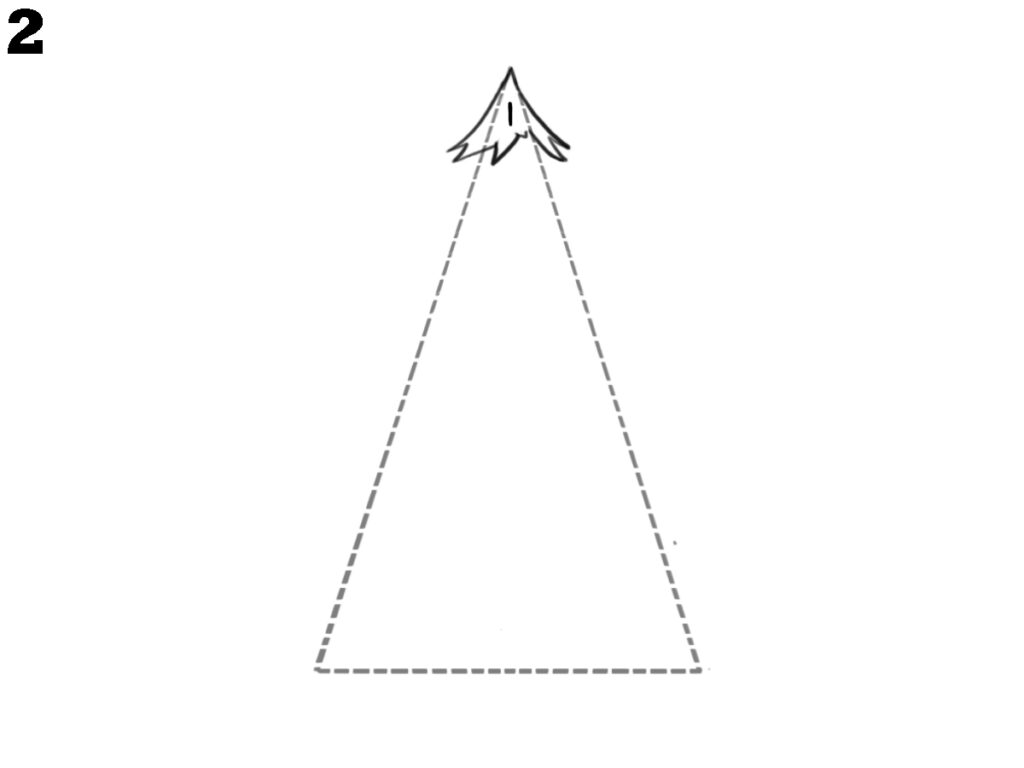
At the very top of the triangle, draw a small pointed set of branches. Make them slightly curved with short lines that point outward. This will be the first layer of your Christmas tree, giving it a natural top shape.
Step 3 – Draw the Next Two Layers
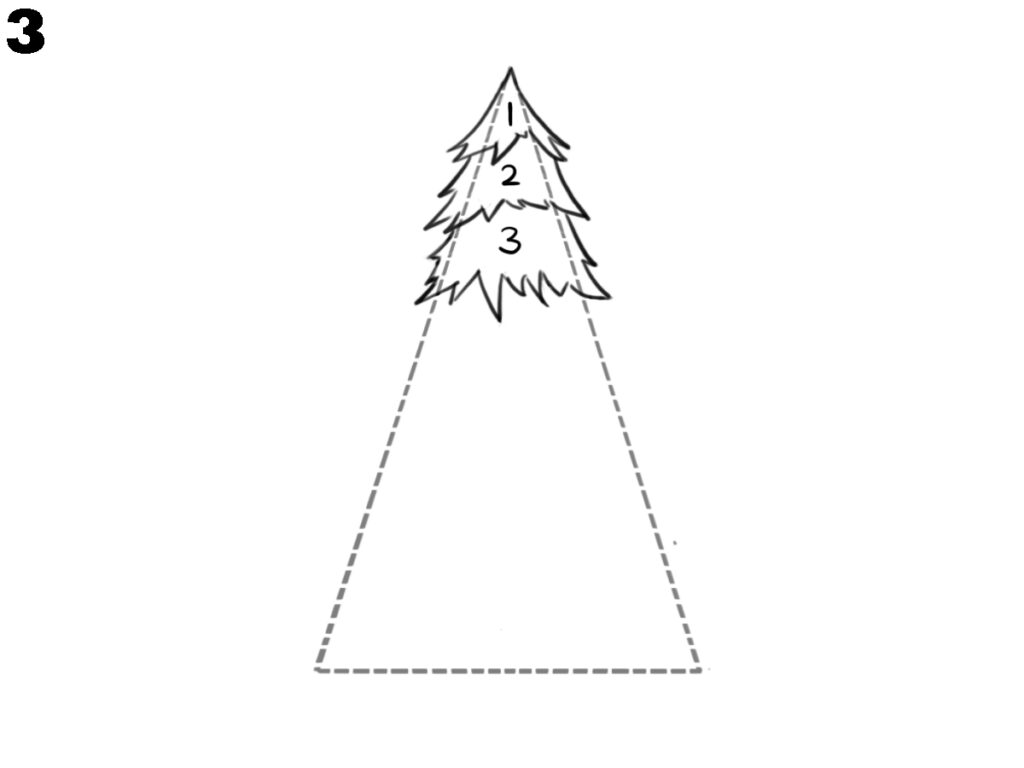
Below the top branches, draw two more layers of branches. Make each layer a bit wider than the one above it. Keep the edges slightly jagged to look like pine needles. Use the triangle outline to keep them even on both sides.
Step 4 – Add Two More Branch Layers
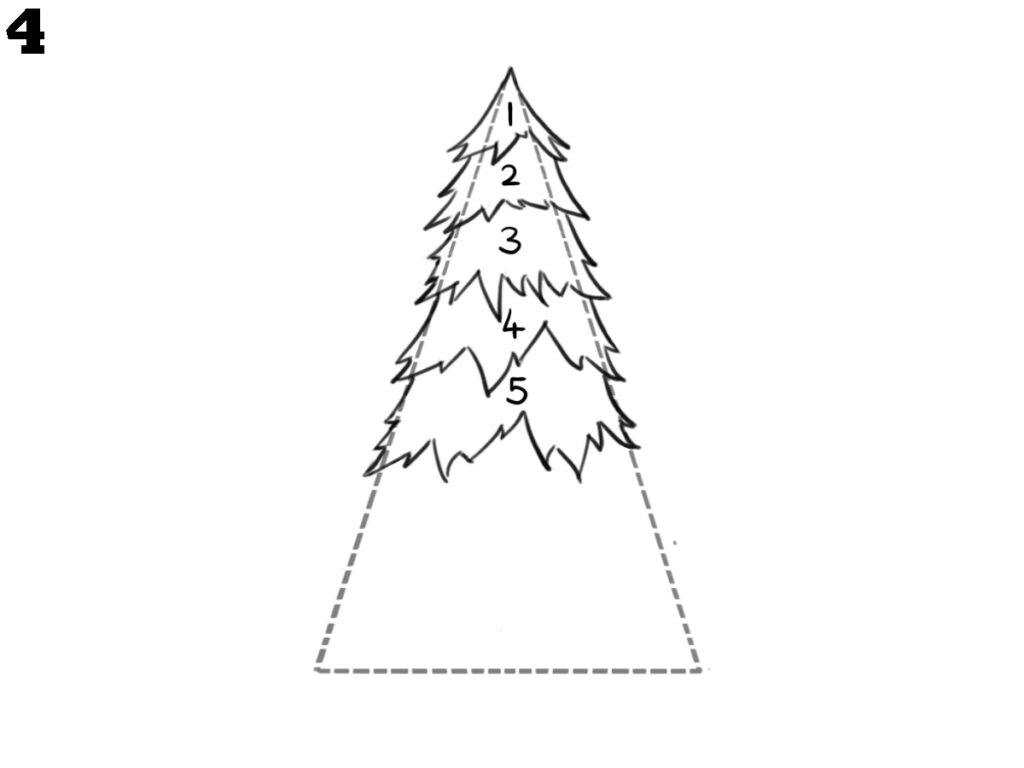
Continue by adding the fourth and fifth layers of branches. Each new layer should be a little wider than the one above. Keep the branches slightly pointed at the ends, and make sure they follow the curve of the triangle outline.
Step 5 – Complete the Remaining Branch Layers
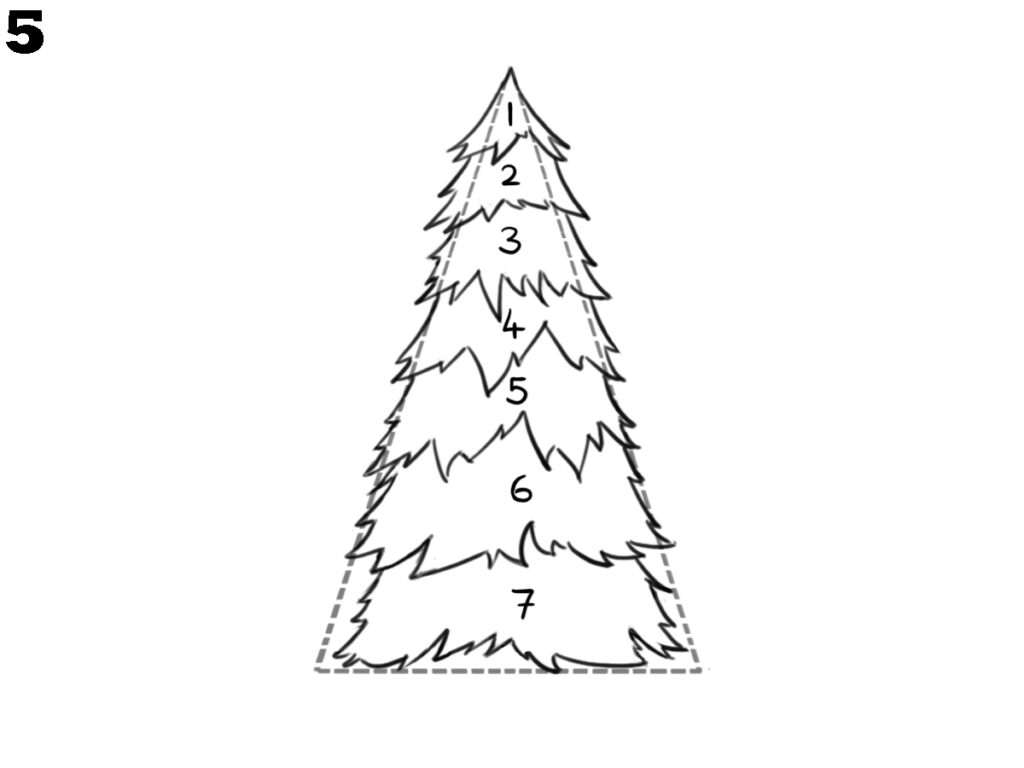
Now, add the last two layers of branches near the bottom. These layers should be the widest and should almost touch the bottom of the triangle outline. This will make your Christmas tree look full and balanced.
step 6 – Draw the Star and Trunk

Erase the triangle outline and draw a small star at the very top of the tree. Then, add a short rectangular trunk at the bottom center. Keep the trunk simple so it does not take focus away from the tree.
Step 7 – Add Shading to the Tree
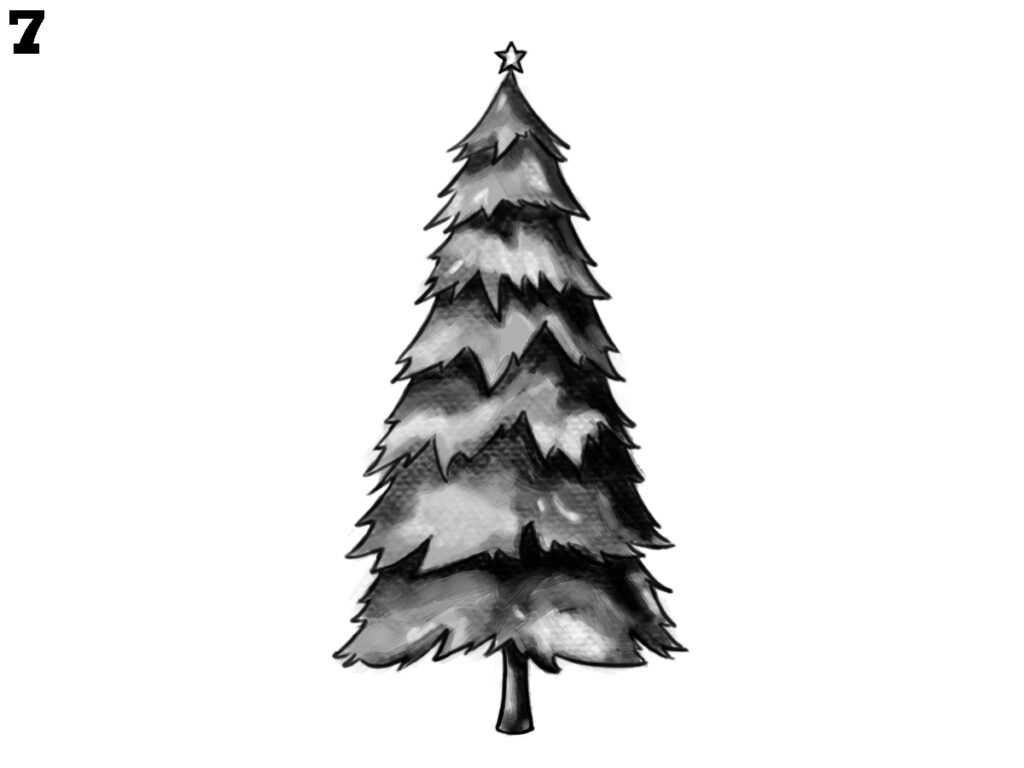
Using a pencil, lightly shade the branches to give your Christmas tree depth. Make the inner areas darker and keep the tips lighter. Also, shade the trunk slightly. This step will make your tree look more realistic and detailed.
Step 8 – Add Color to Finish
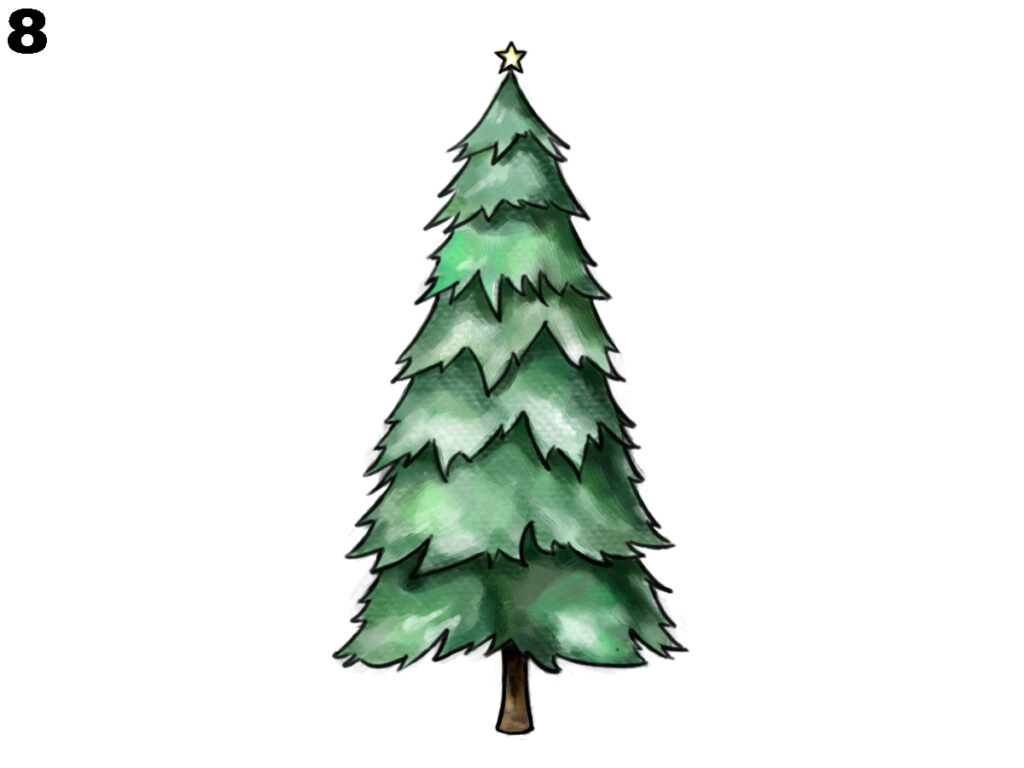
Finally, color the tree green and the trunk brown. Color the star at the top yellow or gold. You can use crayons, colored pencils, or markers. Take your time to fill in the colors neatly so your Christmas tree looks bright and complete.
Conclusion
By following these eight easy steps, you can draw a neat and colorful Christmas tree. Starting with a simple triangle and adding branches layer by layer makes the process easy for beginners. With shading and colors, your drawing will look bright and festive, perfect for holiday-themed artwork.